Digikam/Adding Borders To Your Photos/uk: Difference between revisions
(Created page with "center|500px|thumb") |
(Created page with "Після визначення кольору натисніть кнопку <menuchoice>Гаразд</menuchoice>.") |
||
| Line 30: | Line 30: | ||
Після визначення кольору натисніть кнопку <menuchoice>Гаразд</menuchoice>. | |||
If you prefer predefined textures to apply as borders you can select from the available options menu, which gives many choices. | If you prefer predefined textures to apply as borders you can select from the available options menu, which gives many choices. | ||
Revision as of 14:47, 8 March 2011
Додавання рамок до ваших фотографій
Створено на основі допису у блозі Мохамеда Маліка (Mohamed Malik), 7 березня 2011 року
Багатьом подобається додавати рамки до фотографій, оскільки такі рамки роблять зображення привабливішим і унікальнішим. У digiKam ви зможете дуже просто додати рамку до ваших фотографій.
У digiKam передбачено два способи додавання рамки до зображень.
- Перший спосіб
Позначте фотографію, до якої ви бажаєте додати рамку і натисніть клавішу F4. У відповідь буде відкрито вікно редактора. Скористайтеся пунктом меню .
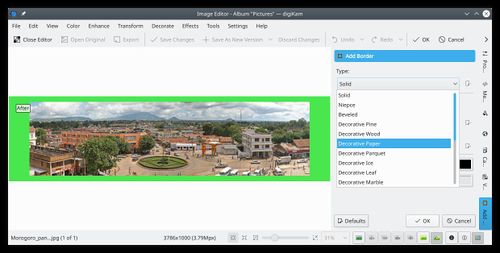
Ви побачите панель з декількома пунктами налаштування.
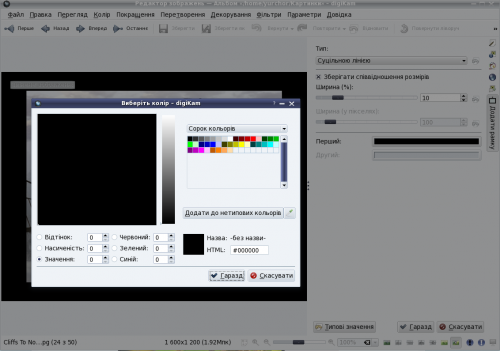
Одним з пунктів буде . Якщо ви виберете цей пункт, ви зможете вказати набір кольорів.
Варіанти вибору кольорів:
- Сорок кольорів
- Кольори Oxygen
- Кольори веселки
- Королівські кольори
- Веб-кольори
- Іменовані кольори
Ви можете змінити відтінок, насиченість та значення будь-якого з кольорів і додати його до списку нетипових кольорів. Нижче наведено знімок відповідного вікна. Ви можете натиснути мініатюру і переглянути зображення у початковому розмірі.

Після визначення кольору натисніть кнопку .
If you prefer predefined textures to apply as borders you can select from the available options menu, which gives many choices.

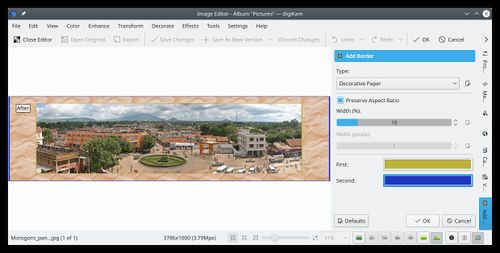
If you choose this option then you can choose the first color and second color. First color is the color that you will see in the inner area, where as second color is the color you will see on the outer area. See screen capture:

When you are done press .
- Method 2
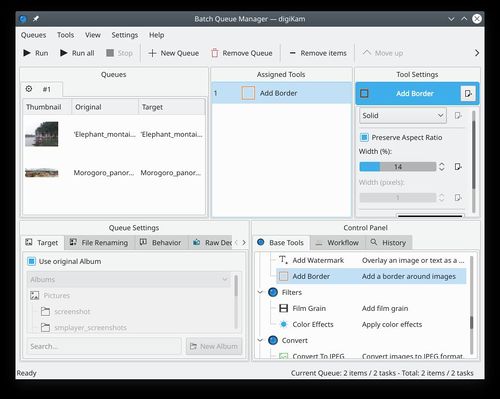
Method 1 is very useful when to test the feature and try to get a border that really suits your needs. However if you have many images that you want to apply borders to, then the batch queue manager would be the best option. Select all the images that you want to apply borders and click B on the keyboard and the Batch Queue Manager appears.
Drag and Drop the to the list of assigned tools and set your preferences select a target folder then click (Ctrl + P)
See screen capture below:

