Digikam/Panorama/uk: Difference between revisions
(Created page with "Виберіть зображення, які слід об’єднати, і скористайтеся пунктом меню <menuchoice>Інструменти -> Об’є...") |
(Created page with "center|500px|thumb|Запуск майстра") |
||
| Line 12: | Line 12: | ||
[[Image:Panorama2.gif|center|500px|thumb| | [[Image:Panorama2.gif|center|500px|thumb|Запуск майстра]] | ||
Revision as of 13:44, 16 September 2011
Як створити панораму за допомогою digiKam 2.1
Створено на основі допису у блозі Мохамеда Маліка (Mohammed Malik), 11 вересня 2011 року.
У digiKam 2.1 ви зможете скористатися багатьма новими можливостями та покращеннями. Одним з найкорисніших інструментів у цьому випуску є . Цей інструмент є простим і дуже ефективним.
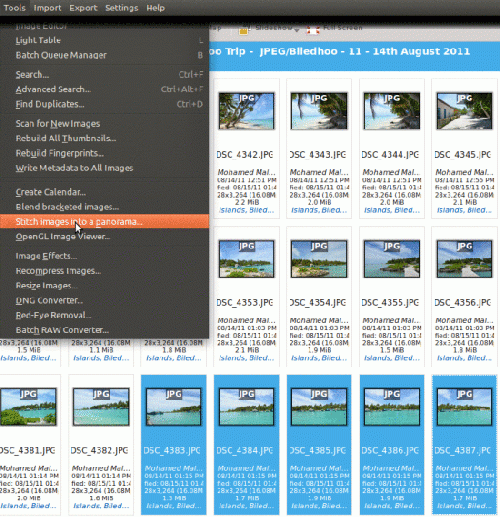
Виберіть зображення, які слід об’єднати, і скористайтеся пунктом меню , щоб відкрити вікно допоміжного майстра.
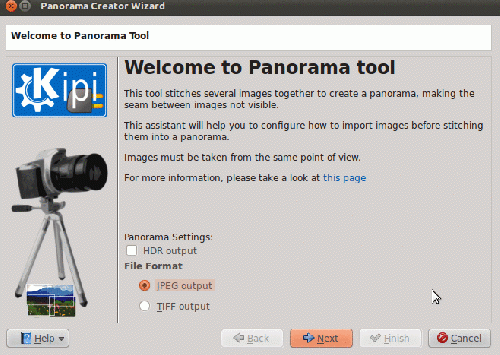
Select any out-put format that you prefer and click next! And this window appears:
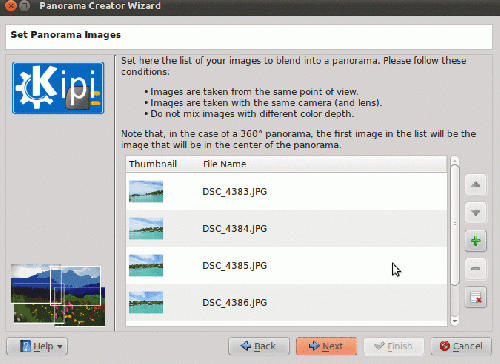
Arrange the images in correct order if they are not, use the up and down arrows, click the to remove any images and click .
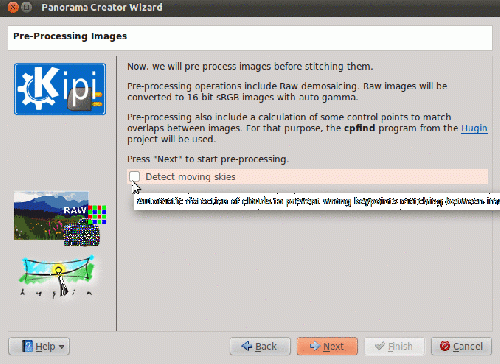
If you want the tool then click the option and press to proceed.
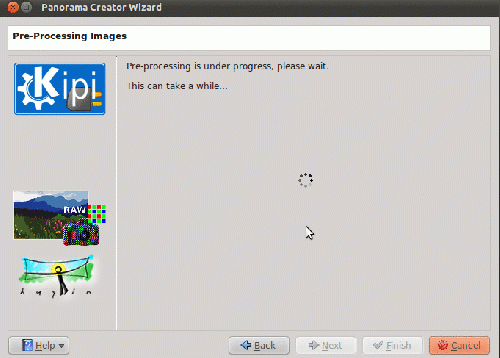
Post processing begins and when it is done click .
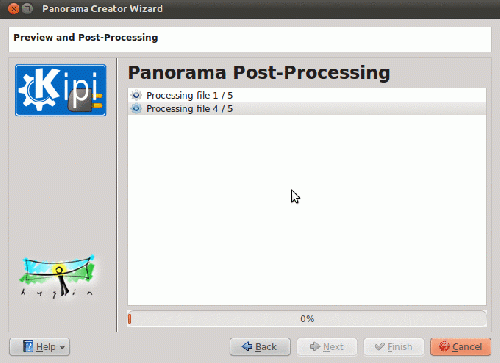
In this window the images are being processed! When done click .
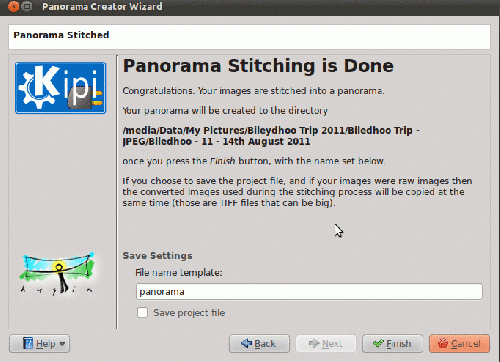
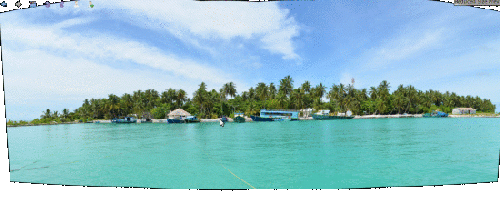
Panorama stitching is now done. If you want you can now save your project. The same project files can be used in hugin, if im not mistaken, since this tool uses hugin! Click and you will see the output in the same folder as your original picture. Here is what I got!
