Digikam/da: Difference between revisions
(Updating to match new version of source page) |
(Updating to match new version of source page) |
||
| Line 84: | Line 84: | ||
== Useful digiKam Tricks == | == Useful digiKam Tricks == | ||
Transcribed from Dmitri | Transcribed from Dmitri Popov's blog, 26 September 2011 | ||
# To quickly adjust thumbnail size in the Album view, press and hold the Ctrl key, then use the mouse scroll wheel to make the thumbnails larger or smaller. | # To quickly adjust thumbnail size in the Album view, press and hold the <keycap>Ctrl</keycap> key, then use the mouse scroll wheel to make the thumbnails larger or smaller. | ||
# With the <menuchoice>Non-Destructive editing and Versioning</menuchoice> feature enabled, '''digiKam''' automatically hides originals and displays the latest modified versions of the photos. For example, if you process a NEF file and save it in the JPEG format, '''digiKam''' hides the original RAW file and shows only the JPEG photo. To disable this feature, choose <menuchoice>Settings -> Configure digiKam -> Editing Images</menuchoice> and make sure that the <menuchoice>Always show original images</menuchoice> option in the In main view section is enabled. To keep things tidy, you can then group the original and all its versions. To do this, select the photos you want to group, right-click on the selection, and choose <menuchoice>Group -> Group Selected Here</menuchoice>. | # With the <menuchoice>Non-Destructive editing and Versioning</menuchoice> feature enabled, '''digiKam''' automatically hides originals and displays the latest modified versions of the photos. For example, if you process a NEF file and save it in the JPEG format, '''digiKam''' hides the original RAW file and shows only the JPEG photo. To disable this feature, choose <menuchoice>Settings -> Configure digiKam -> Editing Images</menuchoice> and make sure that the <menuchoice>Always show original images</menuchoice> option in the In main view section is enabled. To keep things tidy, you can then group the original and all its versions. To do this, select the photos you want to group, right-click on the selection, and choose <menuchoice>Group -> Group Selected Here</menuchoice>. | ||
# {{Output|1=The trash has reached its maximum size! Cleanup the trash manually}} If you receive this error message and emptying the Trash doesn’t help, then the following command may solve the problem: {{Input|1=rm ~/.local/share/Trash/metadata}} | # {{Output|1=The trash has reached its maximum size! Cleanup the trash manually}} If you receive this error message and emptying the Trash doesn’t help, then the following command may solve the problem: {{Input|1=rm ~/.local/share/Trash/metadata}} | ||
Revision as of 18:49, 29 September 2011
 |
Vis, håndter, rediger, organiser, mærk og del dine fotografier. |
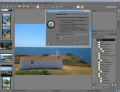
digiKam kan importere billeder fra kameraer, lave albums, mærke med dato, emne og mange andre egenskaber og har glimrende søgefaciliteter. Se venligst manualen for alle detaljer.
Håndtering af dine fotos
-
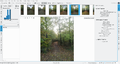
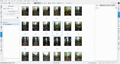
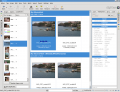
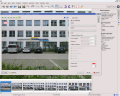
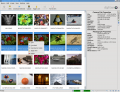
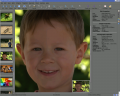
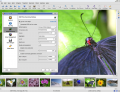
Albumsvisning
-
Tidslinjevisning
-
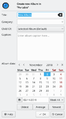
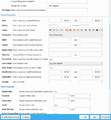
Vis Exif-information
-
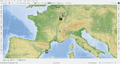
Geo-lokalisering
-
Søge-visning
-
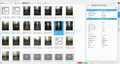
Detaljeret søgning
-
Find gengangere
-
Uklar søgning


Billedredigering
-
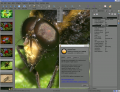
Mærkning
-
Giv en karakter
-
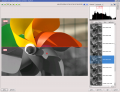
Tilpas farveniveauer
-
Tilpas hvidbalance
-
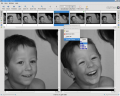
Konverter til sort-hvid
-
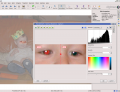
Korrektion for røde øjne
-
Automatisk farvekorrektion
-
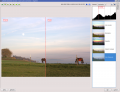
Automatisk linsekorrektion


Importér billeder fra kamera
-
Læs fra flytbare medier
-
eller fra et kamera
-
Gem direkte i et album
-
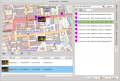
Tilføj geo-lokalisering til individuelle fotos


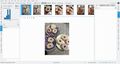
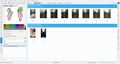
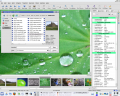
Lysbordet
-
Sammenlign flere fotos
-
Undersøg detaljer
-
Karakterer gør det lettere at vælge
-
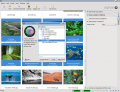
Se kameraindstillingerne


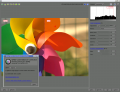
ShowFoto
Hvis du synes, at digiKam er en kende for teknisk, så giver ShowFoto dig adgang til de samme værktøjer i en pupulær brugerflade.
-
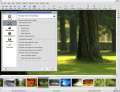
Oversigt
-
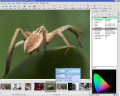
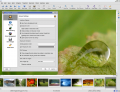
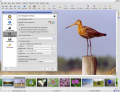
Billedegenskaber
-
Vis billedegenskaber
-
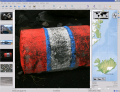
Geo-lokalisering igen
-
Nem skalering
-
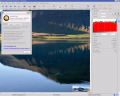
Histogram
-
Generelle indstillinger
-
Indstillinger for værktøjsvink
-
Indstillinger for Raw-billeder
-
Indstillinger for farvehåndtering
-

Indstillinger for gemning
-
Indstillinger for diasshow


Projektets hjælpeside har links til Ofte Stillede Spørgsmål (FAQs) og detaljer om Mailinglisterne.
Der er en kort video-gennemgang her.
Afsnittet om DAM (Digital Asset Management) findes ikke længere på nettet, men er i håndbogen, som kan være inkluderet i din installation som digikam-doc: ellers kan du hente den fra internettet som .pdf-filer digikam.pdf, showfoto.pdf og kipi-plugins.pdf
Bloggen Open Source fotobehandling bliver voksen af rm42 fremhæver udviklingerne siden KDE 3 udgaven og giver et nyttigt overblik.
Vi har en voksende samling af vejledninger, som kan hjælpe dig til at opnå mere fornøjelse og produktivitet med digiKam. På På siden med vejledninger til Digikam finder du en liste over dem alle.

Useful digiKam Tricks
Transcribed from Dmitri Popov's blog, 26 September 2011
- To quickly adjust thumbnail size in the Album view, press and hold the Ctrl key, then use the mouse scroll wheel to make the thumbnails larger or smaller.
- With the feature enabled, digiKam automatically hides originals and displays the latest modified versions of the photos. For example, if you process a NEF file and save it in the JPEG format, digiKam hides the original RAW file and shows only the JPEG photo. To disable this feature, choose and make sure that the option in the In main view section is enabled. To keep things tidy, you can then group the original and all its versions. To do this, select the photos you want to group, right-click on the selection, and choose .
The trash has reached its maximum size! Cleanup the trash manually
If you receive this error message and emptying the Trash doesn’t help, then the following command may solve the problem:rm ~/.local/share/Trash/metadata
- Need to quickly locate all untagged photos? In digiKam, expand the left sidebar, and press the button. In the window, tick the check box and press to run the search.
- Instead of the conventional thumbnail view, digiKam lets you map your photos on a globe. Choose , and you should see photos from the current album mapped on the 3-D globe. You can then use the mouse to rotate the globe and the mouse wheel to zoom in and out. Obviously, the Map view displays only geotagged photos.
