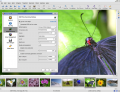
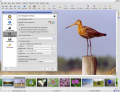
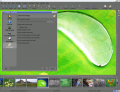
Digikam
 |
Ansehen, verwalten, bearbeiten, verbessern, organisieren, etikettieren und veröffentlichen von Fotografien. |
Digikam unterstützt den Import von Fotos aus Kameras, Erstellung von Alben, Etikettieren mit Terminen, Themen und anderen Eigenschaften und bietet hervorragende Suchfunktionen. Bitte konsultieren Sie die Bedienungsanleitung für weitere Informationen, einschließlich der unterstützten Bild-Formate.
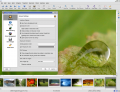
Verwalten Ihrer Fotos
-
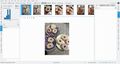
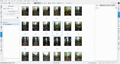
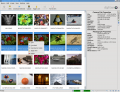
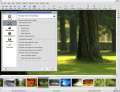
Alben Anzeige
-
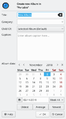
Kalender Anzeige
-
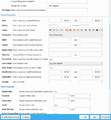
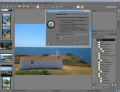
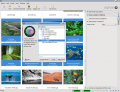
Anzeige der Exif-Informationen
-
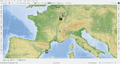
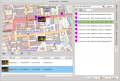
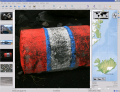
Aufnahmeort lokalisieren
-
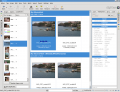
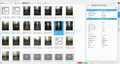
Suchergebnis Anzeige
-
Erweiterte Suche
-
Finden von Duplikaten
-
Fuzzy-Suche (Muster erkennen)


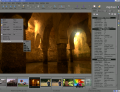
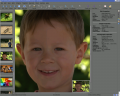
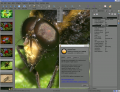
Der Foto Editor
-
Etikettieren
-
Zuweisen einer Bewertung
-
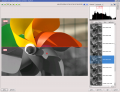
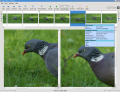
Anpassen der Farbanteile
-
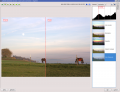
Weißabgleich
-
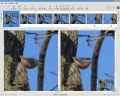
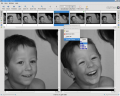
Umwandeln in Schwarz-/Weiß-Fotos
-
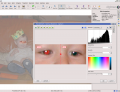
Rote-Augen-Korrektur
-
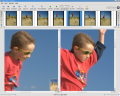
Automatische Farbkorrektur
-
Automatische Linsenkorrektur


Die Kamera Schnittstelle
-
Lesen von Wechselmedien
-
oder von der Kamera
-
Speichern direkt in Alben
-
hinzufügen des Aufnahmeortes (Koordinaten) von einzelnen Fotos


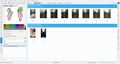
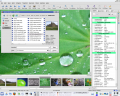
Der Leuchttisch
-
aus einer Reihe von Fotos vergleichen
-
Details untersuchen
-
Bewertungen machen die Auswahl leichter
-
Siehe: Kamera-Einstellungen


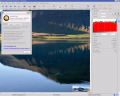
ShowFoto
Für diejenigen, denen die digiKam-Oberfläche ein wenig zu technisch ist, bietet ShowFoto den Zugang zu den gleichen Werkzeugen mit einer populären Oberfläche.
-
Blättern
-
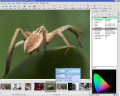
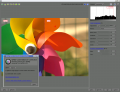
Bild-Eigenschaften
-
Siehe Bildeigenschaften
-
Koordinaten wieder
-
Preset zoomt
-
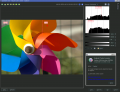
Histogramm
-
Allgemeine Einstellungen
-
Kurzhinweis-Optionen
-
Rohbild-Einstellungen
-
Farbverwaltungs-Einstellungen
-

Dateispeicher-Optionen
-
Konfigurieren einer Diaschau


Die Hilfe-Seite des Projektes hat Links zu Häufig gestellte Fragen (FAQs) und Details zum Abonnement von Mailing-Listen.
Es exisitiert eine kurze Videotour hier.
Der Abschnitt über Digital Asset Management ist nicht mehr auf den Web-Seiten, aber in der Anleitung, die in Ihrer Distribution im Paket 'digikam-doc' vorhanden sein kann, oder Sie können eine Reihe von '-Pdf'-Dateien herunterladen. digikam.pdf, showfoto.pdf und kipi-plugins.pdf
Der Blog Open Source Photo Processing Comes of Age von rm42 zeigt die Entwicklung von Digikam seit der KDE 3-Version und bietet eine Tour durch die Funktionen an.
Wir haben eine wachsende Sammlung von Anleitungen, die ihnen helfen mehr Freude und Produktivität von digikam zu erhalten. Die Digikam Anleitungs-Seite führt diese mit einer kurzen Beschreibung auf.

Hilfreiche digiKam Tricks
Übernommen aus Dmitri Popovs Blog, 26. September 2011
- To quickly adjust thumbnail size in the Album view, press and hold the Ctrl key, then use the mouse scroll wheel to make the thumbnails larger or smaller.
- With the feature enabled, digiKam automatically hides originals and displays the latest modified versions of the photos. For example, if you process a NEF file and save it in the JPEG format, digiKam hides the original RAW file and shows only the JPEG photo. To disable this feature, choose and make sure that the option in the In main view section is enabled. To keep things tidy, you can then group the original and all its versions. To do this, select the photos you want to group, right-click on the selection, and choose .
The trash has reached its maximum size! Cleanup the trash manually
If you receive this error message and emptying the Trash doesn’t help, then the following command may solve the problem:rm ~/.local/share/Trash/metadata
- Need to quickly locate all untagged photos? In digiKam, expand the left sidebar, and press the button. In the window, tick the check box and press to run the search.
- Instead of the conventional thumbnail view, digiKam lets you map your photos on a globe. Choose , and you should see photos from the current album mapped on the 3-D globe. You can then use the mouse to rotate the globe and the mouse wheel to zoom in and out. Obviously, the Map view displays only geotagged photos.

digiKam 2.2.0 Installer for Windows
In his blog of 22 October, 2011, Dmitri Popov writes:
"Good news for those who want to run the latest version of digiKam on Windows. The SourceForge repository now has a Windows installer of the latest digiKam version courtesy of Ananta Palani.

I tested the installer with a Windows 7 machine, it worked like a charm. While the installer makes it supremely easy to deploy digiKam on Windows, the application does have a few quirks. Most notably, the Windows version of digiKam cannot import photos directly from storage media or cameras, so you need to copy them to the hard disk using Windows’ own built-in image transfer tool, and then add the transferred photos to digiKam. The Trash feature doesn’t work either, but you can work around this issue by deleting photos instead of sending them to the trash. To be fair, though, these issues are not caused by digiKam itself, but are due to bugs in the underlying KDE libraries which the application relies on."