Kdenlive/Manual/Timeline Menu/Space
Timeline>Space
Insert Space
brings up a submenu with and options. Inserting a space is a useful feature when you want to push all the existing clips on the timeline aside to make room for new clips but also want to preserve the relationships among all the clips that were shifted, including their transitions.

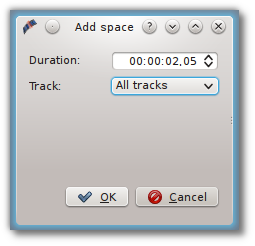
In addition to invoking this menu from , you can also bring it up by right-clicking on an empty spot on a track in the timeline. There are a couple of important differences with how Insert Space behaves, though, depending on which method you choose. First, using brings up the Add Space dialog shown in Figure 1 where the default choice for Track: is All Tracks.

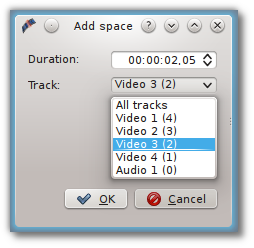
When you access the menu by right-clicking on a track, the same dialog appears but the default is the track you clicked on. In either case, you can obviously override the default by picking another option (Figure 2). The other difference is that the insertion happens at the playhead when the operation originates from the Timeline menu; it takes place at the mouse cursor position when right-clicking.
And in case you're wondering, the default Duration for the inserted space is 65 frames, which is not configurable in the Kdenlive or Project settings. 65 frames will equate to different amounts of time depending on the frame rate set in your project profile. In the example, our project's frame rate happens to be 30 fps and that's why the default Duration works out to be 00:00:02.05.

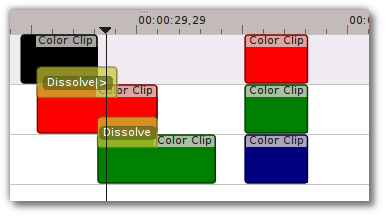
Let's look at an example, albeit an unrealistic one, of how inserting a space from the playhead position will affect clips and transitions on different tracks. In general, inserting a space will shift any clips that the playhead is touching as well as all clips to the right of the playhead. Transitions are a little trickier. They will go with the clip they “belong” to, and they are assumed to belong to the clip on the higher track (regardless of the direction of the transition). Figure 3 shows a scenario with clips on three video tracks before inserting a space. All of the following examples assume we're starting from this postion.

