Marble/Maemo/Offline Rutevejledning
- ← Installation
- Marble/Maemo/OfflineRouting/da
- Navigation →
Kom i gang
Igennem hele denne vejledning antager jeg, at du har en Nokia N900 med Marble og Monav installeret. Du kan finde instruktioner i, hvordan man installerer softvare i vores installationsvejledning.
Under opsætning af offline rutevejledningen skal du også bruge internetadgang. Når data for det område, som du er interesseret i er downloadet, så behøver du ikke internetadgangen længere. Herefter kan du bruge Marble til at beregne ruter i den region uden internetadgang.
Start Marble på N900. Skærmen vil se nogenlunde sådan ud, bortset fra, at det nok er et andet sted, der vises på kortet.
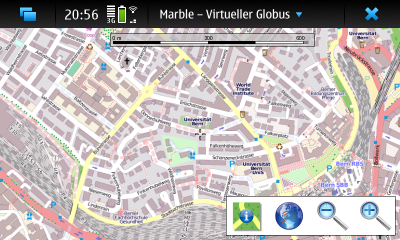
Vi vil bruge Schweiz i dette eksempel. Lad os antage, at vi er i Bern, hovedstaden i Schweiz, og vil bruge Marble til offline rutevejledning.
Installation af kort til rutevejledning
For at få offline rutevejledning til at virke skal vi først downloade et passende kort til offline rutevejledning. Marble kan downloade kort til ruteplanlægning for bilkørsel. Der findes kort over alle verdens lande, som kan downloades. For nogle lande kan man også installere kort over mindre dele af landet.
Nu vil vi downloade kortet over Schweiz. For at gøre dette åbner du Marbles programmenu: Tap på teksten øverst på skærmen. Vælg knappen nederst til venstre.
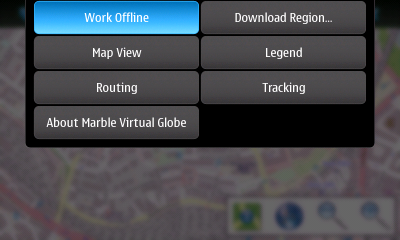
Nu åbnes ruteplanlægningsdialogen. Det er blot en mellemstation; gå direkte til linket .
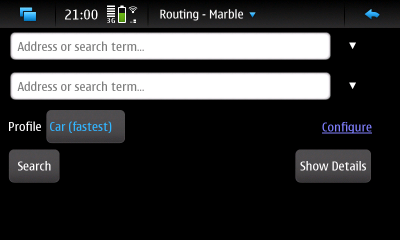
Pressing the link opens the dialog to configure the current routing profile.
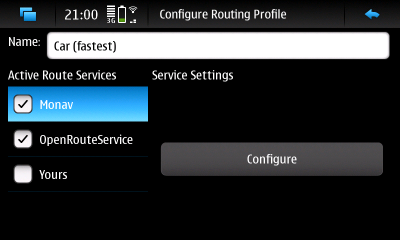
Here'll we'll disable all Active Route Services (the services and programs Marble uses to retrieve routes) except Monav, the offline router we want to use. Once only Monav is selected like shown in the screenshot above, tap on the button. On the dialog that comes up, switch to the tab and choose Switzerland.
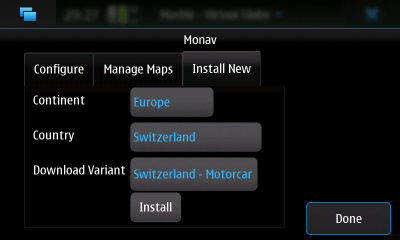
Done? Hit to have Marble download the map. You'll get a progress indicator while the map is being downloaded.
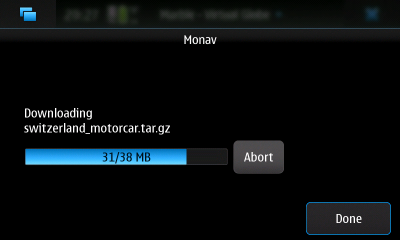
Wait for the download and the installation to finish. Once done, the new map appears in both the and the tabs.
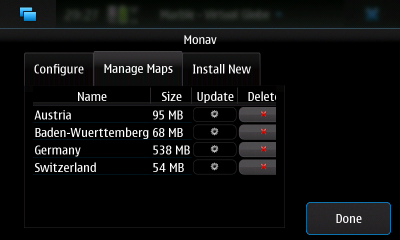
With the Switzerland map successfully installed, we can continue to use it for offline routing. Hit in all opened dialogs to close them.
Downloading Map Data
Marble is able to calculate routes anywhere within Switzerland now. The map images that are displayed are not available yet however -- if you'd cut the Internet connection now and move the map to a part of Switzerland you didn't look up before, Marble would not have a detailed map image to show to you. Fortunately there's the Download Region feature to help out. It downloads the map images (which are often called tiles) for a rectangular region -- the part you see on the screen -- or along the current route.
Let's see the Download Region feature in action. We'll calculate a route and download tiles along it. Move the map near the desired start, click on the start point and select in the upcoming menu.
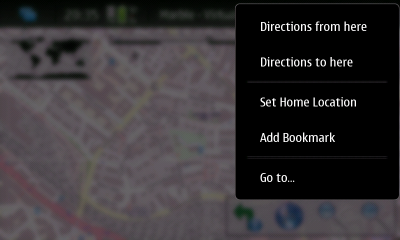
Likewise, select the route destination using the menu entry. Marble will calculate the route and show it to you.
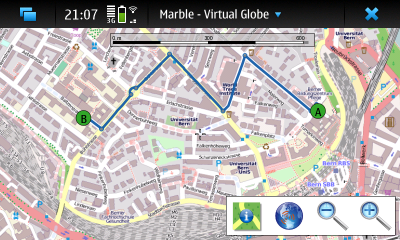
To download the tiles along the route, make sure Marble is not in offline mode. If the main menu looks like in the next screenshot with the button enabled, click on it to disable the offline mode.

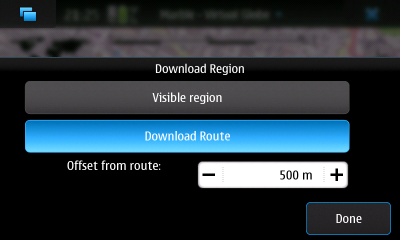
Afterwards, choose from the main menu to open the Download Region dialog. Choose the option. Marble will determine which parts of the map the route touches and download the corresponding tiles. You can also select a margin laterally to the route where tiles are downloaded as well. Increasing the margin allows you to deviate further from the planned route, but also increases the download size.
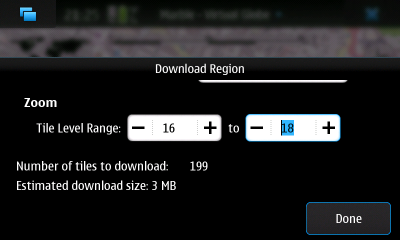
In the bottom part of the same dialog you can select which zoom levels (tile levels) to download. We'll increase the maximum zoom level to 18 to get the most detailed maps for this short route. Note how increasing the maximum tile level also increases the number of tiles to download and the estimated size of the download.
Hit to have Marble download the tiles. The dialog closes and the download progress is shown in the little pie chart on the right side of the map.
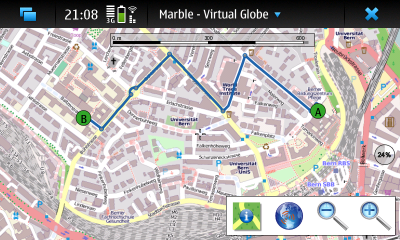
Once the download is finished, you're all prepared for offline mode. Click on the button (the left of the four large buttons on the bottom of the screen) to have Marble follow you on the route, highlight driving instructions at turn points and re-calculate the route in case you deviate from it. Further details on this topic are described in the Guidance Mode page.
- ← Installation
- Marble/Maemo/OfflineRouting/da
- Guidance Mode →


