Kubuntu/Installation/tr: Difference between revisions
Created page with "====Disk Yapılandırması====" |
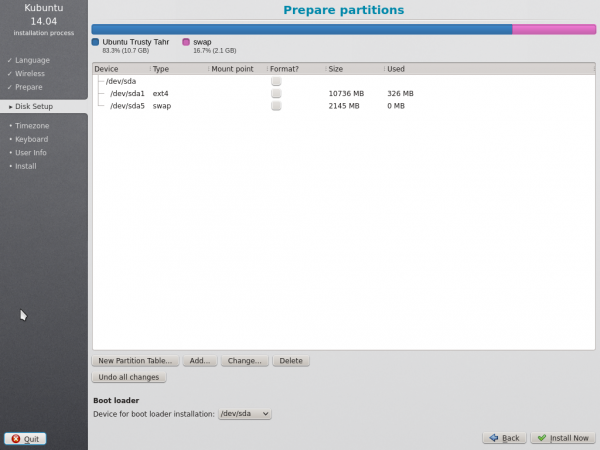
Created page with "thumb|600px|center|Disk Yapılandırma Ekranı" |
||
| Line 35: | Line 35: | ||
====Disk Yapılandırması==== | ====Disk Yapılandırması==== | ||
[[Image:KubuntuDiskSetup.png|thumb|600px|center|Disk | [[Image:KubuntuDiskSetup.png|thumb|600px|center|Disk Yapılandırma Ekranı]] | ||
This is where you choose how to organize your hard drive. This step is the most complicated and consequential in the entire install process, so take your time. | This is where you choose how to organize your hard drive. This step is the most complicated and consequential in the entire install process, so take your time. | ||
Revision as of 00:54, 25 February 2014
Kurulum
Kubuntu'yu kurmak için birçok iyi neden var! Bazıları:
- Kubuntu Bilgisayarınızı özgür kılar.
- Kubuntu dünyanın dört bir yanında bulunan uzman geliştiricileri tarafından oluşturulan bir işletim sistemidir. İhtiyaç duyduğunuz tüm uygulamaları içerir: bir web tarayıcısı, ofis takımı, çoklu ortam uygulamaları, anlık mesajlaşma istemcisi ve daha bir çoğu... Dahil edilen yazılımların tam bir listesi için Yazılım sayfasına bakın.
- Kubuntu, Windows ve Mac OS X'e açık kaynaklı, ücretsiz bir alternatiftir.
- Kolaylıkla Windows'un yanına veya yerine kurulum.
Kurulum Süreci
İlk olarak Kubuntu'yu edinmelisiniz. Bkz. Kubuntu İndir
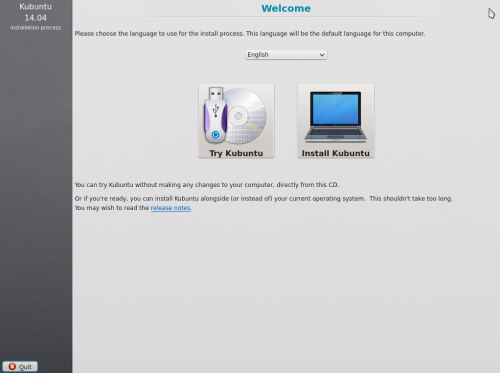
Yükleyici başladığında bu seçenekleri göreceksiniz:
- Bilgisayarda herhangi bir değişiklik yapmadan Kubuntu'yu Dene
- Kubuntu'yu bilgisayarınıza Kurma
Hazırlık
En iyi sonuçlar için şunlardan emin olun:
- Bilgisayarınızın Kubuntu ve kişisel verileriniz (şarkı, resim, video ve belgeler) için yeterince yere sahip.
- Bilgisayarınızın Kubuntu yüklenirken güncelleştirmeleri ve üçüncü parti yazılımları indirebilmek üzere İnternet'e bağlı.
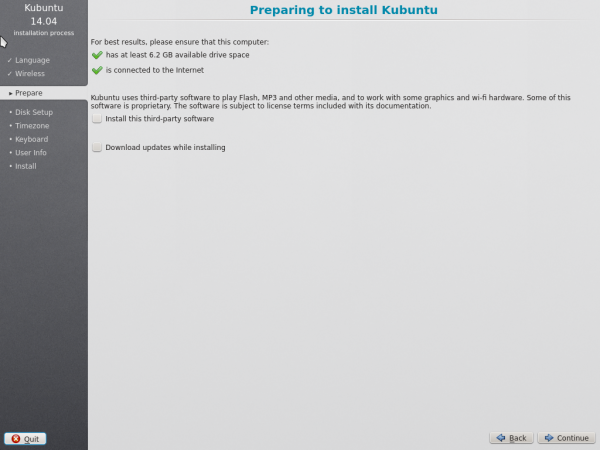
seçeneği, Açık Kaynak modeline veya Ubuntu Felsefesine uymayan ancak sisteminizde kullanmak üzere güvenli olan yazılımları dahil edecektir.
seçeneği, yükleme tamamlandığında, dahil edilmiş en son hata ve güvenlik güncelleştirmelerine sahip olmanızı sağlayacaktır.
Disk Yapılandırması
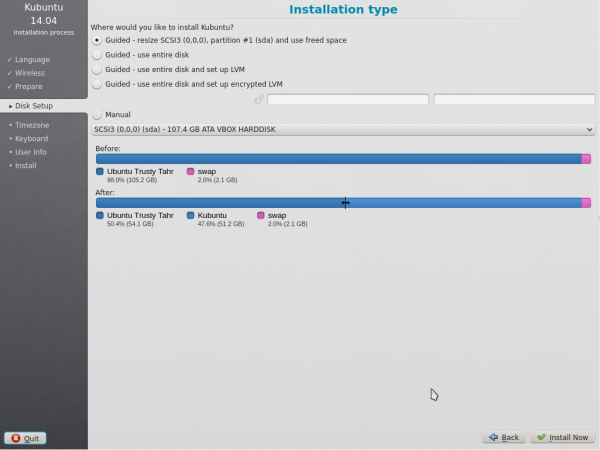
This is where you choose how to organize your hard drive. This step is the most complicated and consequential in the entire install process, so take your time.
The following sections are some possible installation scenarios you might choose. Each of these choices points to a page or series of pages with more details. For each option (except Manual), the installer asks which hard drive to use. After choosing, you will see a before and after layout on that hard drive.
Resize
This will resize the partitions for you and install Kubuntu on the free space. With this option you can create what is called a dual-boot and choose which OS to boot into at startup.
Use entire disk
In this scenario the installer will create two(2) partitions on your hard drive. One(1) for the root, home, and everything else and one(1) for the swap.
Use entire disk and set up LVM
More about LVM
Use entire disk and set up encrypted LVM
More about encrypted file systems
Manual
When using to set up your system as you would like it, keep these thoughts in mind:
- The root ( / ) directory needs at least 25 GBs of space.
- The home ( /home ) directory needs as much space as you will need for your files, music, pictures and documents. So it is best to use the remaining space for the home partition, unless you have going to dual boot.
- Swap space of at least half of the available RAM is recommended. For instance, with 8 GBs, make the swap with at least 4 GBs.
For more detailed information regarding the Disk Setup of a linux system you can check the DiskSpace page.
Timezone
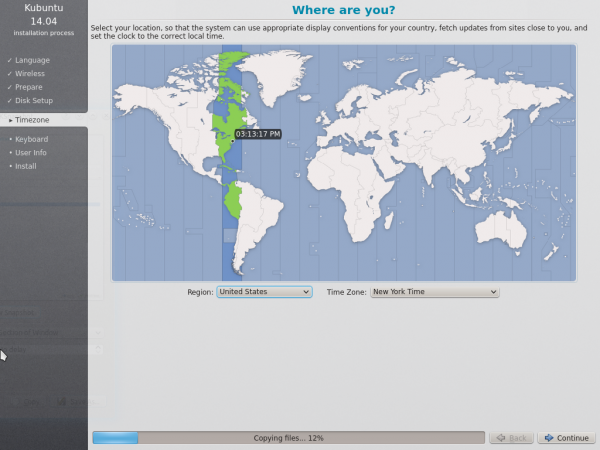
During this step you get to pick the Region where you live and then the Timezone of the location in that Region. An example would be that I live in New York, so my Region is North America and my Timezone is New York.
Keyboard
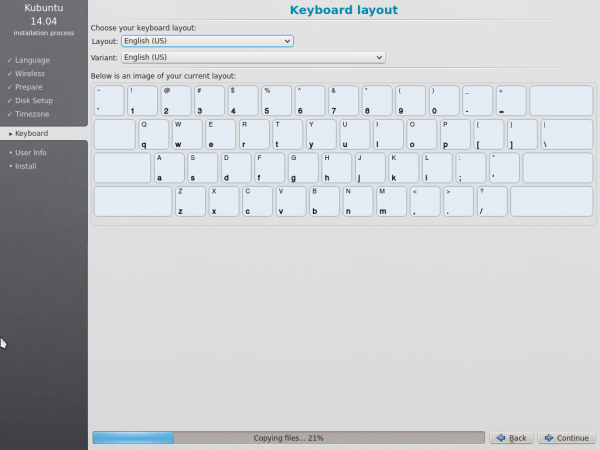
This is the step that will set up your keyboard's language and, if the language has it, a different version of the language. For example, there is a Cherokee American English setting as well as different setups with special keys used in certain countries; in Kubuntu we try to make the system easy for everyone!
User Info
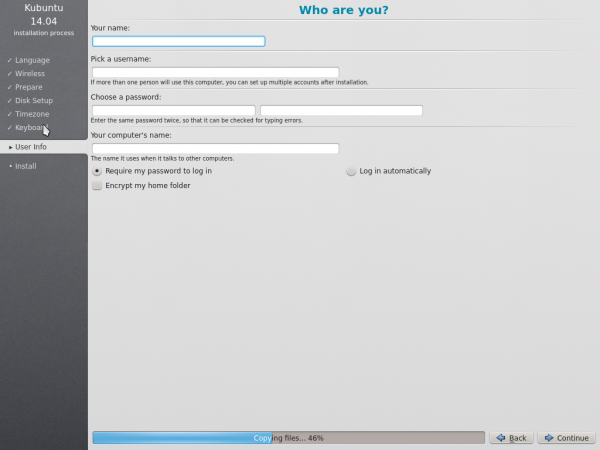
At this step of the installation you will be putting in user information like your name, username, and password. The password will be your key to logging into your new installation as well as installing new software, updating your system, and more, so keep it written down somewhere!
