LabPlot/Worksheet: Difference between revisions
Appearance
| Line 12: | Line 12: | ||
* Grid Layout | * Grid Layout | ||
In the grid layout the plots | In the grid layout the plots are arranged in multiple columns and rows. The number of columns and rows can be modified by the user. In the example below six plots are arranged in two rows and three columns: | ||
[[File:LabPlot worksheet 2x3 grid layout.png |400px|thumb|center]] | [[File:LabPlot worksheet 2x3 grid layout.png |400px|thumb|center]] | ||
The same plots can also be arranged in three rows and two columns: | |||
[[File:LabPlot worksheet 3x2 grid layout.png |400px|thumb|center]] | [[File:LabPlot worksheet 3x2 grid layout.png |400px|thumb|center]] | ||
Note how the sizes of the plots are automatically adjusted to fit to the fixed size of the worksheet. | |||
* Advanced Layout | * Advanced Layout | ||
More advanced layouts with arbitrary positions and sizes of the plots are achieved by deactivating the automatic layouting in the worksheet (option "No Layout") and by setting the positions and sizes manually. | More advanced layouts with arbitrary positions and sizes of the plots are achieved by deactivating the automatic layouting in the worksheet (option "No Layout") and by setting the positions and sizes manually. | ||
Revision as of 09:34, 10 January 2021
Basic Concepts
Layouts
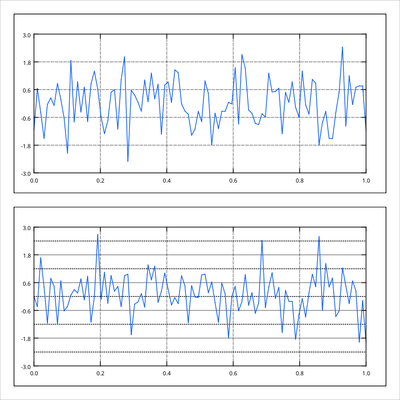
- Vertical Layout
- Horizontal Layout
- Grid Layout
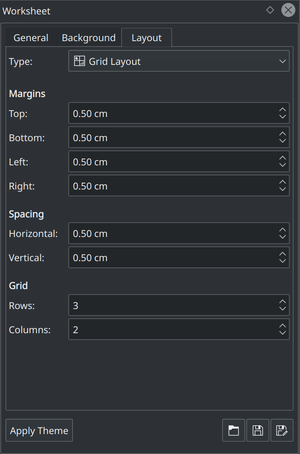
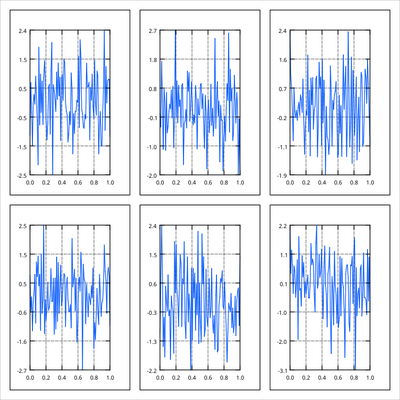
In the grid layout the plots are arranged in multiple columns and rows. The number of columns and rows can be modified by the user. In the example below six plots are arranged in two rows and three columns:
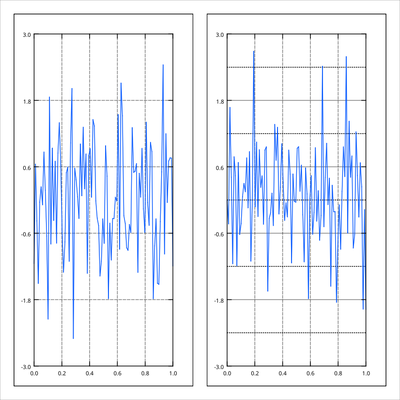
The same plots can also be arranged in three rows and two columns:
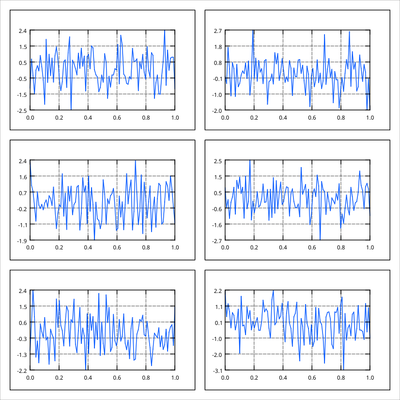
Note how the sizes of the plots are automatically adjusted to fit to the fixed size of the worksheet.
- Advanced Layout
More advanced layouts with arbitrary positions and sizes of the plots are achieved by deactivating the automatic layouting in the worksheet (option "No Layout") and by setting the positions and sizes manually.
