Kdenlive/Підручник/Обробка
Обробка
Створення і використання скриптів обробки
- Мета
- Під час редагування відео час вирішує все. Особливо важливим є те, наскільки тривалим для вас буде редагування кліпів, проекту або відзнятого матеріалу, над яким ви працюєте. Якщо у вас виникне потреба експортувати частини кліпів на лінійці запису окремо, у Kdenlive передбачено чудовий спосіб виконання цього завдання. Ви можете встановити у вашому проекті напрямні, які визначатимуть зони. Після цього ви можете створити скрипти обробки, які експортують ці зони колись пізніше, під час вашого сну або доки ви перехопите чогось їстівного. Нижче наведено настанови щодо того, як все це налаштувати.
Позначення частин напрямними
Почніть з додавання кліпу на лінійку запису. Автор цього підручника додав давній матеріал зі знятими літаками. Ось так!
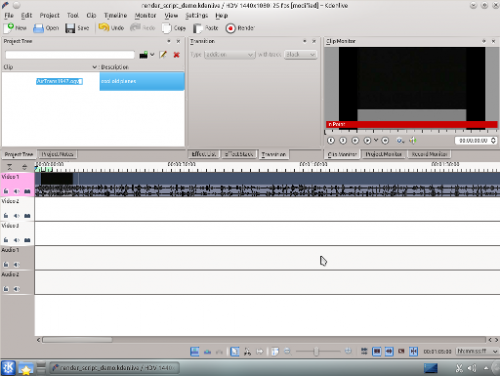
Далі нам слід додати напрямну для певної частини кліпу на монтажному столі. Ви можете додати напрямну за допомогою меню : перейдіть до пункту і виберіть пункт . Якщо ви клацнете правою кнопкою миші у верхній частині монтажного стола, ви також зможете скористатися пунктом . Якщо ви хочете, ви також можете змінити встановлені вами напрямні клацанням правою кнопкою миші на монтажному столі.
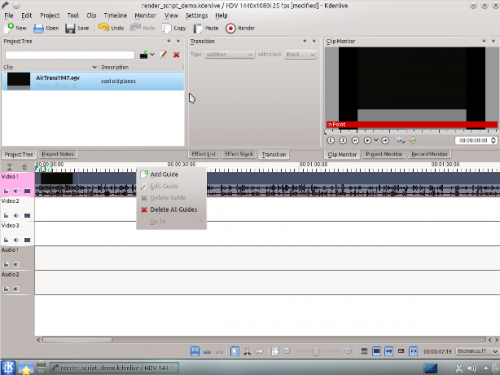
Після вибору цього пункту програма відкриє вікно з даними щодо позиції напрямної і полем додавання коментаря. Додавання мітки до напрямної може бути корисним, тому ми додамо для першої напрямної мітку Розділ 1. Після цього на місці напрямної буде показано темно-синю вертикальну лінію, яка проходитиме через усі доріжки на монтажному столі.
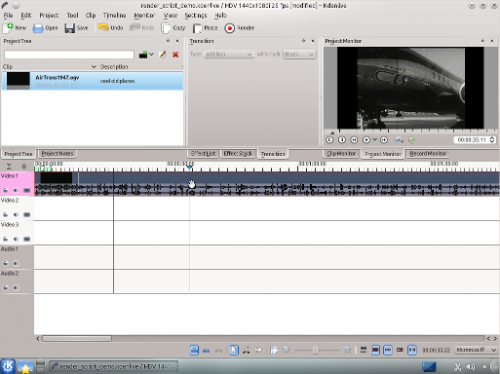
I'll add a few more guides and then we'll start rendering.
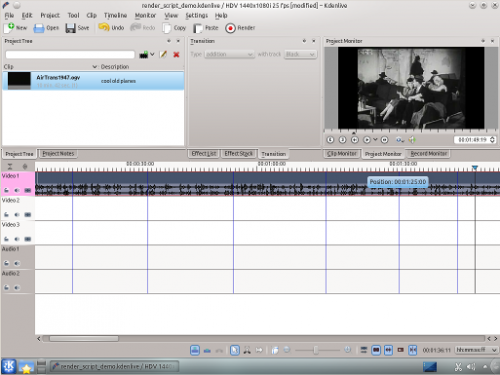
The screenshot shows the 6 guides I have put in my project. They chop up the existing clip as I want for my project (that hopefully will become the first hit retro-experimental film...). Now we can export scripts that, when executed, will render these guide zones.
Створення скриптів обробки
Start by clicking on the button in your toolbar, the one with the red circle surrounded by a white and black ring. You can also select this by going to the (Ctrl+Return).
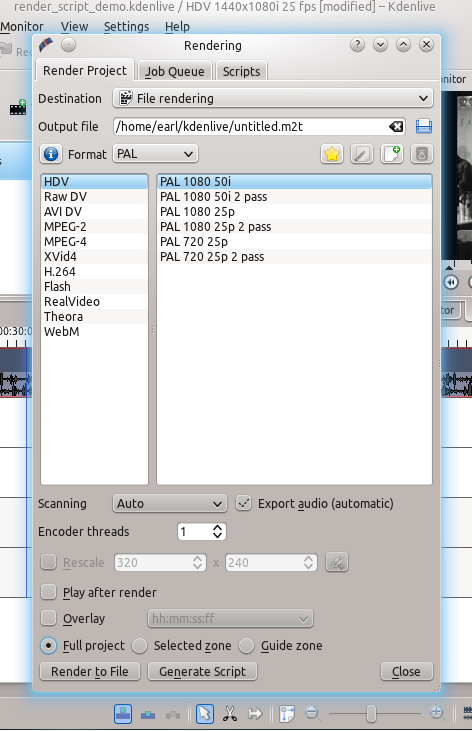
The new window gives us many choices about how to render our video. Look at the bottom of the window. We need to select the button . Selecting this will allow us to render our project using the guides we made earlier. Be sure and name the output file to a unique name for each script we will create. Otherwise the scripts will overwrite the different guide zones and not do what you wanted.
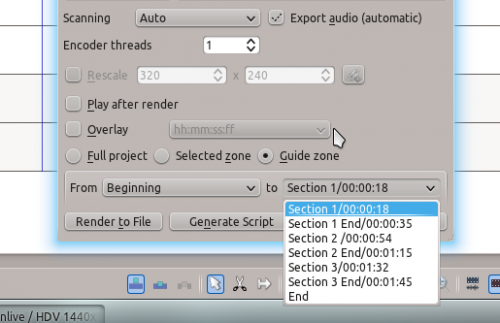
We now can choose which guides will establish the regions of video we want to export using the pull down menus next to From and to. I'll cut out the Beginning and instead use section 1 to Section 1 End, the guide names I defined earlier.
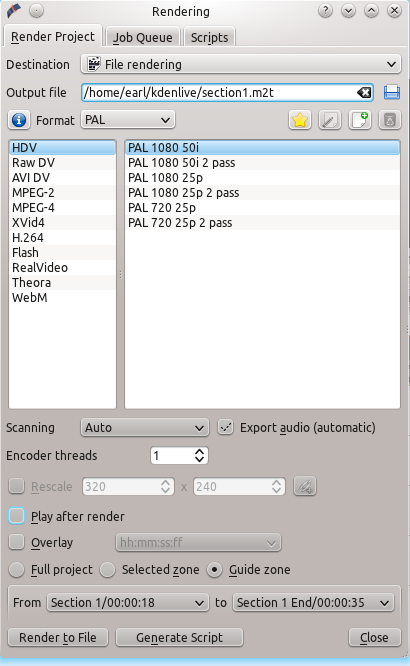
Now I can render this to a file or generate a script that will render this guide zone to a file. Click and a menu appears asking you to name the script. Kdenlive stores the clips in /yourhomedirectory/kdenlive/scripts
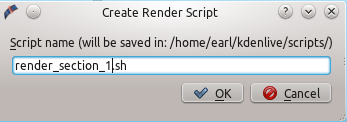
After saving the script, the top tab in the window switches to Scripts. This lists all the scripts you have generated for the current project.
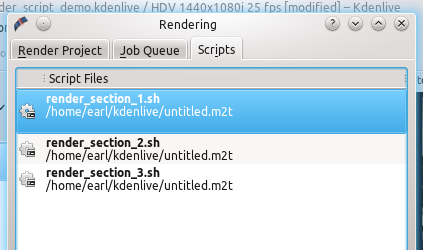
I went ahead and generated 3 scripts based on the guide zones I set up in my timeline. Be sure and keep the .sh extension otherwise the rendering script will not be generated.
Starting Your Rendering Scripts
Once each script is generated, you need to start each one.You should be in the script tab and see your scripts listed. Start the process by selecting the script and clicking the button. Do this for each script.
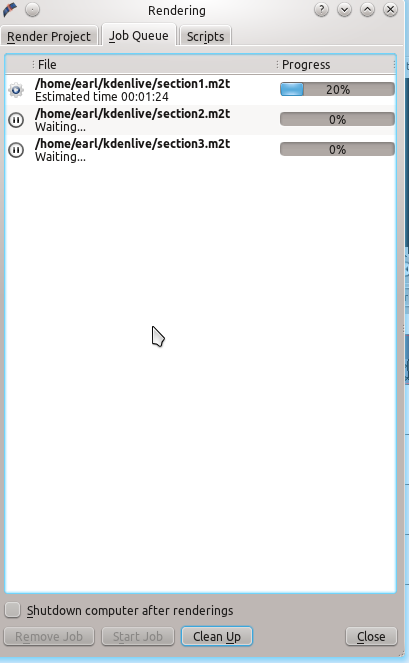
After clicking each script, you are switched to the Job Queue tab. Here you will see what script is being run and how many more are waiting to be run. If you have a large queue, you can take advantage of the nifty checkbox in the bottom left: .
Підсумки
Creating guides can help organize your project while you work on it and when you share it with the world. You can use guides to keep track of areas or to generate rendering scripts that will do the mundane task for you. This feature makes exporting sections of your project quite easy. There are also other ways to take advantage of rendering sections and guide zones using guides. Have fun. Explore!

