Системні параметри/Локаль/Як встановити та застосувати переклад інтерфейсу
How To Install and Apply Interface Translation
All modern distribution propose to install appropriate locale during distro installation. If for some reason you missed your locale here is step-by-step instruction on how to install and apply it.
Installation of Language Package
You should first install the language pack for your distribution. The method of installation depends on distribution. Here we describe the steps for some of the most popular GUI tools.
KPackageKit (Apper)
This tool is a frontend to PackageKit and used by Debian, Fedora, and Ubuntu. New version of KPackageKit is named Apper. Ubuntu will switch to Muon from version 11.10.
Start KPackageKit from application launcher or just press Alt + F2 and type
kpacka
then press Enter.

Type
kde-l10n
in search field and press Enter. Choose the appropriate language pack from the list below.
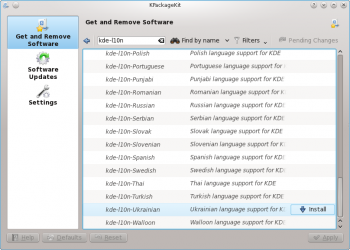
Click then . KPackageKit will ask you to install an additional package.
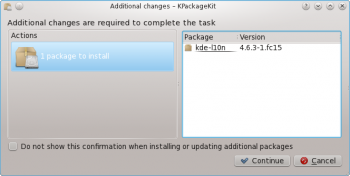
Click .

When installation is finished close KPackageKit window.
drakrpm
Frontend for urpmi. Used in Mageia and Mandriva.
Start drakrpm from Control Center or just press Alt + F2 and type
drakrpm
then press Enter.

Type
kde-l10n
in search field and press Enter. Choose the appropriate language pack from the list below.
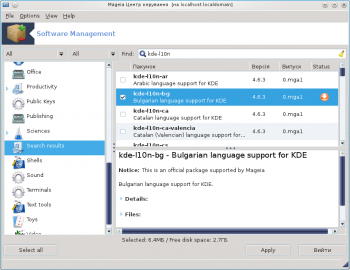
Click . drakrpm will ask you to install an additional package. Click .
When installation is finished close drakrpm window.
Applying Language
Start System Settings from application launcher.
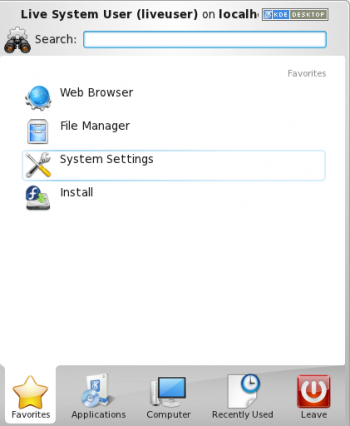
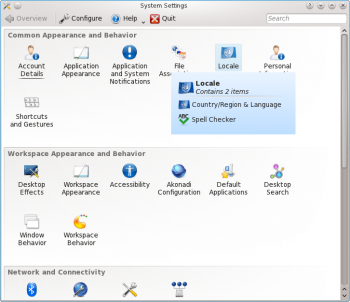
Choose from the list.
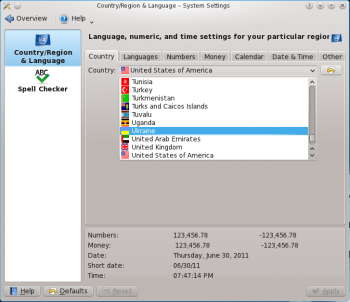
Choose your country from the list on tab. Click .
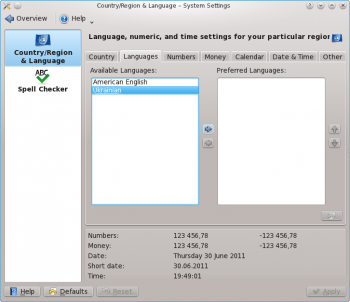
Go to the tab. Select your language on the left pane and push ![]() to add it to the Preferred Languages list.
to add it to the Preferred Languages list.
Press . Log off then log on to apply the changes. For the detailed instructions please visit this page. That's all.
