System Settings/Locale/How To Install and Apply Interface Translation/it: Difference between revisions
(Importing a new version from external source) |
(Importing a new version from external source) |
||
| Line 27: | Line 27: | ||
Fai clic su <menuchoice>Continua</menuchoice>. | Fai clic su <menuchoice>Continua</menuchoice>. | ||
[[Image:kpackagekit_install.png|center|thumb|350px|KPackageKit | [[Image:kpackagekit_install.png|center|thumb|350px|KPackageKit sta installando i pacchetti]] | ||
When installation is finished close '''KPackageKit''' window. | When installation is finished close '''KPackageKit''' window. | ||
Revision as of 16:49, 3 July 2011
Come installare ed applicare all'interfaccia una traduzione
Tutte le moderne distribuzioni propongono di installare la giusta localizzazione durante l'installazione della distribuzione. Se per qualche ragione manca la tua localizzazione, qui trovi istruzioni passo-passo su come installarla ed applicarla.
Installazione del pacchetto linguistico
Dovresti per prima cosa installare il pacchetto linguistico per la tua distribuzione. Il metodo di installazione dipende dalla distribuzione. Qui descriviamo i passaggi per alcuni dei più comuni strumenti grafici.
KPackageKit (Apper)
Questo strumento è un'interfaccia per PackageKit ed è utilizzato da Debian, Fedora e Ubuntu. La nuova versione di KPackageKit si chiama Apper. Ubuntu passerà a Muon dalla versione 11.10.
Avvia KPackageKit dal lanciatore di applicazioni o semplicemente premendo Alt + F2 e digitando
kpacka
, premi poi Invio.

Digita
kde-l10n
nel campo di ricerca e premi Invio. Scegli il pacchetto linguistico appropriato dall'elenco sottostante.
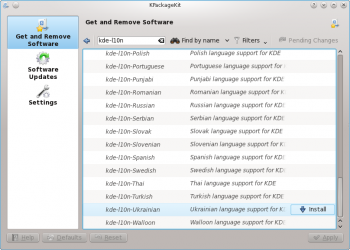
Fai clic su e quindi su . KPackageKit ti chiederà di installare un pacchetto aggiuntivo.
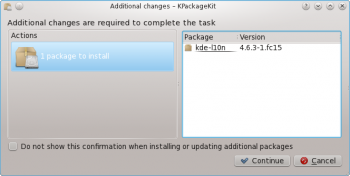
Fai clic su .

When installation is finished close KPackageKit window.
drakrpm
Frontend for urpmi. Used in Mageia and Mandriva.
Start drakrpm from Control Center or just press Alt + F2 and type
drakrpm
then press Enter.

Type
kde-l10n
in search field and press Enter. Choose the appropriate language pack from the list below.
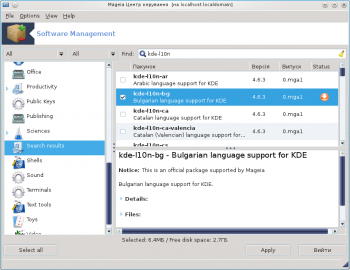
Click . drakrpm will ask you to install an additional package. Click .
When installation is finished close drakrpm window.
Applying Language
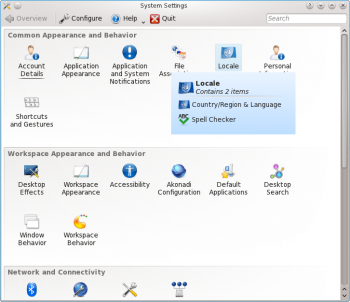
Start System Settings from application launcher.
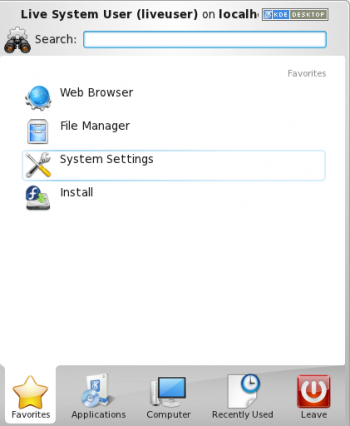
Choose from the list.
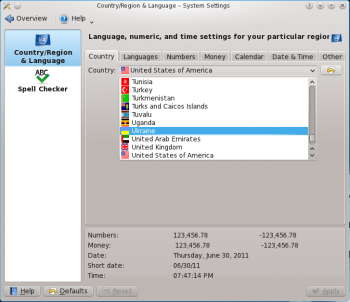
Choose your country from the list on tab. Click .
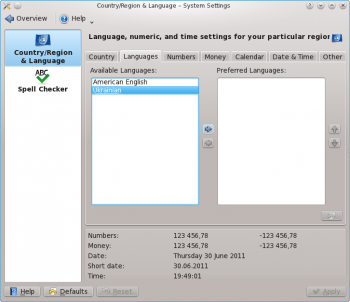
Go to the tab. Select your language on the left pane and push ![]() to add it to the Preferred Languages list.
to add it to the Preferred Languages list.
Press . Log off then log on to apply the changes. For the detailed instructions please visit this page. That's all.
