KDevelop4/Manual/Getting started
First steps
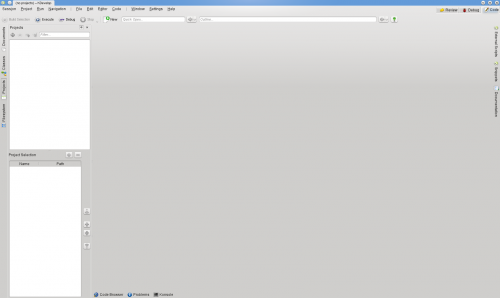
When you first start KDevelop, you will see a pretty clean working window.

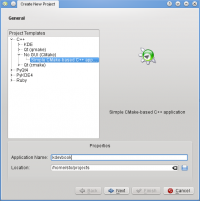
Instead of explaining all the different areas, menus, tools, etc. of KDevelop, we'll jump into the cold water and start our C++ project.
 |
 |
- Click on
- Click on
- KDevelop complains about an empty project name – so enter one!
- Then click on and on
- You are asked for a configuration for the build directory – for now you can skip this dialog by clicking on
Project management

On the left side of the window, you see the Projects Toolview. You can open multiple projects within one session - your currently opened projects will be displayed in that toolview.
The upper part is basically a simple file browser where all files and build targets in your project's folder are listed.
You see that main.cpp is listed both under your project's folder as well as under your project's make target. This is pretty useful, as you can quickly see which files belong to which target, and which files you may have forgotten to add to a target.
The lower part of the Projects Toolview is your Projects Selection. In this area you can add or remove all projects that should be built when you click on "Build Selection". With the ![]() you can add projects from the upper part to the list, with the
you can add projects from the upper part to the list, with the ![]() you can remove them. If you have multiple projects in that list, you can change the order by using the arrow buttons to the right side of the list. Very useful when you have projects with interdependencies.
you can remove them. If you have multiple projects in that list, you can change the order by using the arrow buttons to the right side of the list. Very useful when you have projects with interdependencies.
You may have noticed the four icons and the text input field in the upper area. Let's go from left to right:
- The first button with the double arrow is useful for huge projects - it navigates your file selection to the document that is currently opened in the editing area on the right side.
- The second button with the gear builds your currently selected target or project.
- The third button with the gear and the small blue arrow installs your selection if you have install targets and rules defined - more details about that will be covered in the chapter about Build Systems.
- The last button cleans up your selected target by executing
make clean.
- And finally, in the text field you can enter terms to filter the view. This does only work, if the search term you entered is at the start of any target, filename, or folder within your tree view.

