Kdenlive/Manual/Timeline Menu/Current Clip
Current Clip Menu

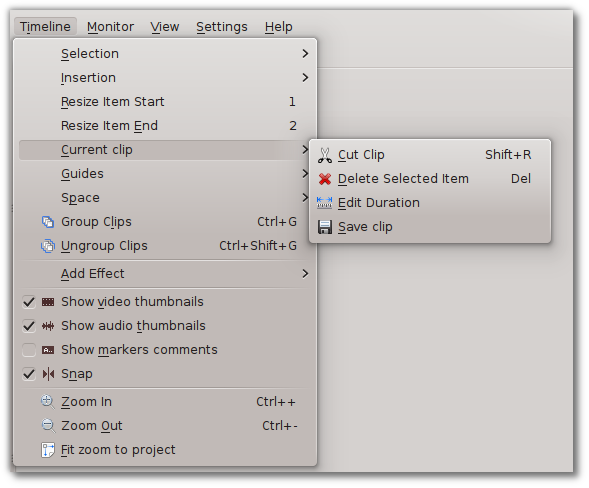
Before using the operations on this menu, you must first select the clip or clips on which you want to make the changes. The first two menu choices, and , can be performed on either a single clip or a group of clips. The other two, and , will only work on a single clip.
Cut Clip


performs the same operation as the Razor Tool, but it works differently. When the Razor tool is enabled, you can click on any clip on the timeline and that clip will be cut where you clicked. To use from the menu or its Shift + R keyboard shortcut, you must first select the target clip or clip group and then position the playhead where you want the cut to occur. Figures 1 and 2 show the before and after of such an action. Unlike using the Razor tool, you can even cut a clip this way while it is playing (again, as long is it is selected first). If you try to perform the operation when the playhead is on an unselected clip, nothing will happen.
Delete Selected Item
This menu choice does just what it says. Selected clips will be deleted from the timeline (but not from the project). If multiple clips are selected or grouped, they will all be deleted.
Edit Duration
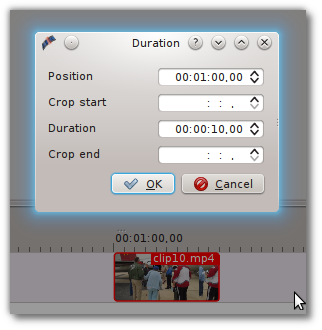
This option is an alternative to dragging with the mouse for changing not just the duration but also the position of clips on the timeline. Adjusting the time values directly with spin boxes gives more fine-grained control than dragging with the mouse. A quicker way than using the menus to bring up the Duration dialog is to simply double-click on a clip in the timeline.

Figure 3 shows an example of a 10-second clip located at the 1 minute position on the timeline. You can see that the Crop start and Crop end values are blank. This indicates that 10 seconds is the full, uncut length of the clip. We can’t increase its duration (there’s just no more material available) but we can crop it to remove material from the beginning, end, or both.

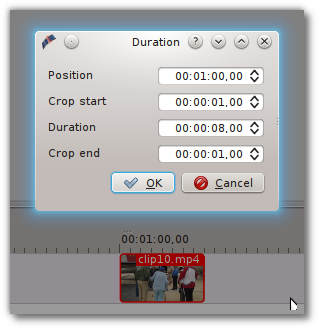
Figure 4 shows the result of cropping 1 second from the start and end of the clip. This leaves an 8-second clip, still positioned at the 1 minute mark on the timeline. In the case of the example, we could also adjust its position because there is empty space on either side of the clip. If there happened to be other clips adjacent to the selected clip, you would not be able to adjust its position with this method, even if you have Overwrite mode enabled. This is a case where dragging the clip with the mouse does have an advantage.

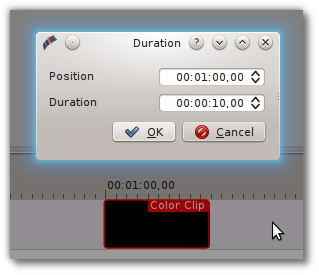
The examples shown above apply to video clips. Still images, Color and Title clips are a slightly different. Since their content is static, the concept of cropping doesn’t apply to them. Therefore, if you double-click on one of those clips, you will only be offered options to change Position and Duration (Figure 5).
Save clip

Use this option to save a copy of the current clip as an XML file. When you select it, you will be presented with the Save As dialog, a portion of which is shown in Figure 6. The saved file is basically a proxy clip which points back to the original file. It not only references the original selected clip but also stores all the properties of that clip, including any effects (but not transitions) which were applied when you did the save. The saved file can be added back as a clip to the project and used on the timeline like a regular video clip. It will retain the properties of the original source clip as they were when you saved them, even if you go back later and modify the source clip.
