Digikam/AddTextures: Difference between revisions
Appearance
temporarily disable translate |
Marked this version for translation |
||
| (3 intermediate revisions by the same user not shown) | |||
| Line 1: | Line 1: | ||
<languages /> | <languages /> | ||
<translate> | |||
==Adding Textures To Your Images Using DigiKam== <!--T:1--> | ==Adding Textures To Your Images Using DigiKam== <!--T:1--> | ||
Transcribed from Mohammed Malik's blog, 21 February 2011 | Transcribed from Mohammed Malik's blog, 21 February 2011 | ||
| Line 22: | Line 23: | ||
[[Category:Photography]] | [[Category:Photography]] | ||
[[Category:Tutorials]] | [[Category:Tutorials]] | ||
</translate> | |||
Latest revision as of 11:09, 22 February 2011
Adding Textures To Your Images Using DigiKam
Transcribed from Mohammed Malik's blog, 21 February 2011
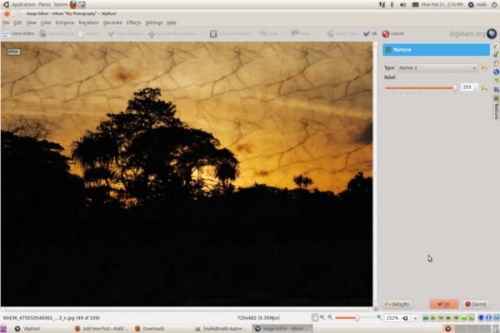
Many people add textures to their images which produces very good results most of the time. If you want to apply textures to your image it is simple and easy. Select the image you want to add texture to and press F4 on the keyboard. This will take you to editor view.
From the editor view go to

On the right hand side you will see the texture options available, and another option called , you can using that option to control the amount of texture that you are applying for the texture that you choose.
