Amarok/Manual/Organization/Collection/RemoteCollections/Ampache: Difference between revisions
→Ampache Client: updated info 2.4.1, added new image |
|||
| Line 7: | Line 7: | ||
=== Ampache Client === | === Ampache Client === | ||
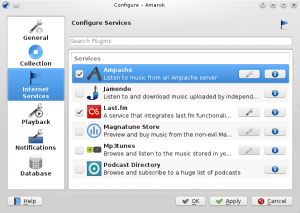
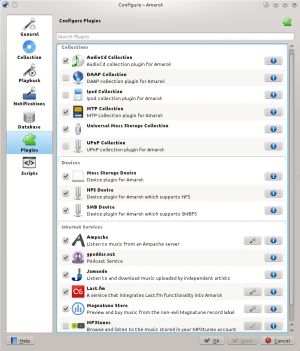
Activate the '''Ampache''' service using <menuchoice>Settings -> Configure Amarok... -> Internet Services</menuchoice> before '''Amarok''' 2.4.1, 2.4.1 on: <menuchoice>Settings -> Configure Amarok... -> Plugins</menuchoice>. | Activate the '''Ampache''' service using <menuchoice>Settings -> Configure Amarok... -> Internet Services</menuchoice> before '''Amarok''' 2.4.1, 2.4.1 on: <menuchoice>Settings -> Configure Amarok... -> Plugins</menuchoice>. | ||
{|class="tablecenter vertical-centered" | {|class="tablecenter vertical-centered" | ||
|[[File:remotecollections_ampache_client.png|thumb|300px|Before 2.4.1: Click on the wrench icon to open the configuration dialog]] | |[[File:remotecollections_ampache_client.png|thumb|300px|Before 2.4.1: Click on the wrench icon to open the configuration dialog]] | ||
Revision as of 07:54, 21 March 2011
Ampache
Amarok is able to play music from an Ampache media server. Ampache needs an Apache server to work.
Ampache Client
Activate the Ampache service using before Amarok 2.4.1, 2.4.1 on: .
 |
 |
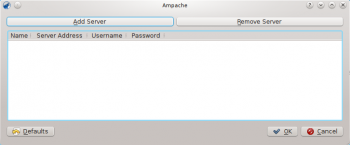
Configure the service with the data entered on the server:
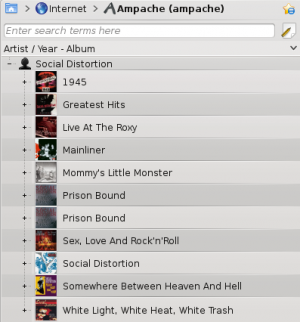
Now the Ampache service should appear in .
Ampache Server
On Debian-based distributions like Ubuntu you can install Ampache using
sudo apt-get install ampache
You need to tell the Apache server where it can find the Ampache files. Create the file /etc/apache2/conf.d/ampache with the following content:
Alias /music "/usr/share/ampache/www/"
<directory />
    DirectoryIndex index.php index.html
    Options Indexes MultiViews
    AllowOverride None
    Order allow,deny
    Allow from all
</directory>
Restart Apache with the command
/etc/init.d/apache2 restart
so you can access Ampache's web interface using http://localhost/music/. You get the following page:
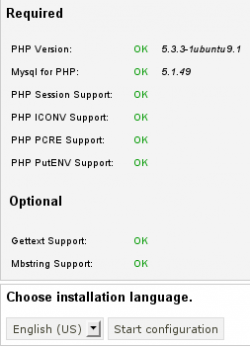
Choose your language and click to configure Ampache. Enter the configuration of your MySQL database:
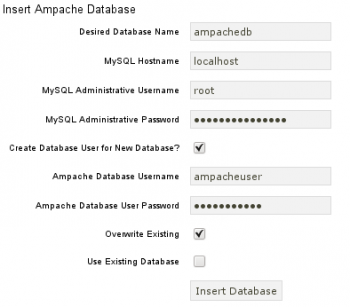
Click to create the user and database. You will get an error message because there is already a configuration file which is empty. Just enter your MySQL configuration again and click and you will get a configuration file as download.
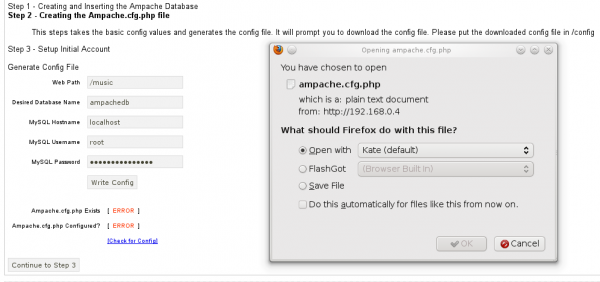
Save this file to /usr/share/ampache/www/config/ampache.cfg.php and overwrite the existing (empty) configuration. After you clicked you can create the initial account to manage Ampache.
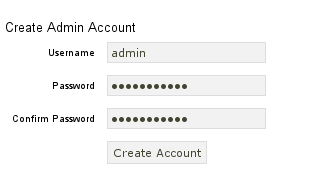
Log into your newly created account:
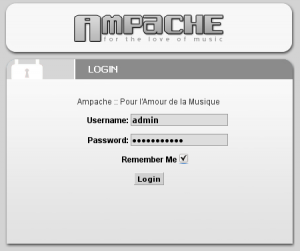
And you will get the web interface:
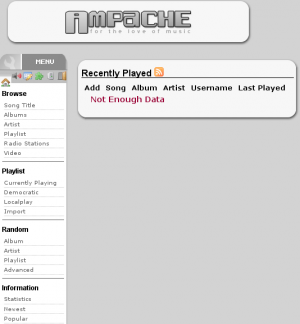
Click on in the on the left to create a new catalog of music.

Create a new guest account using :
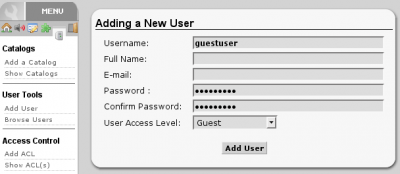
Now you need to allow guest access on your server. Open the configuration in /usr/share/ampache/www/config/ampache.cfg.php and remove the ';' character before auto_user = "guest". Restart Apache and the server configuration is finished.
