Digikam/BleachBypassEffect
Appearance
Create a Bleach Bypass Effect in digiKam
Transcribed from Dmitri Popov's blog, 2 April 2013
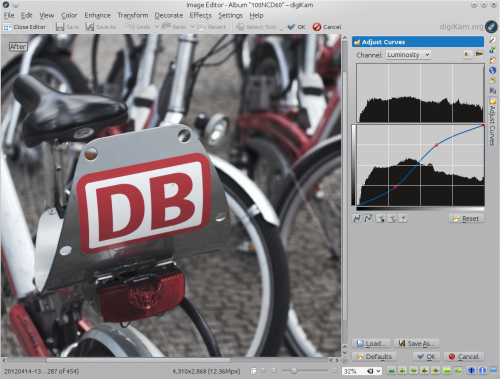
Using tools available in digiKam, you can simulate a number of effects, including bleach bypass. This effect produces a desaturated high-contrast image. Creating the bleach bypass effect in digiKam is done in two simple steps. Open a photo for editing and choose . Specify the desired saturation value somewhere between -35 and -59, then press to desaturate the photo.

Choose then , select from the Channel drop-down list, and adjust the curve so it’s shaped as S. Feel free to experiment with the steepness of the curve to achieve the best result. As a starting point, you can download a ready-made S curve and import it into digiKam using the button.
