Marble/Maemo/Режим путівника
- ← Автономна побудова маршрутів
- Marble/Maemo/GuidanceMode/uk
- Стеження за розташуванням →
За допомогою Режиму путівника Marble допоможе вам знайти правильний шлях до пункту призначення. Після вмикання цього режиму картка стежитиме за вашим поточним розташуванням (GPS-позицією) і коригуватиме масштаб відповідно до швидкості руху. У пунктах поворотів буде показано настанови з керування засобом пересування.
Планування маршруту
У Marble передбачено декілька способів створення маршрутів: ви можете скористатися пошуком за назвами пункту відправлення і пункту призначення, скористатися вашими закладками або просто позначити відповідні пункти на карті.
Користування діалоговим вікном побудови маршруту
Діалогове вікно маршрутів можна відкрити за допомогою основного меню програми: достатньо натиснути напис , і ви зможете створювати маршрути на основі пошуку пунктів та закладок. Ми розглянемо побудову маршруту на основі обох цих наборів даних. Відкрийте діалогове вікно маршрутів так, щоб зображення на екрані було подібним до наведеного нижче.
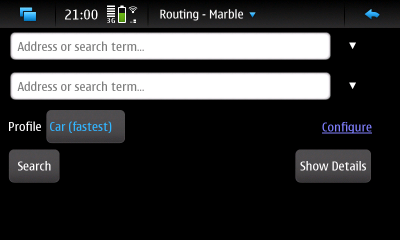
Введемо Augartenstraße, Karlsruhe у поле пошуку, розташоване вгорі, для визначення початку маршруту. Натисканням кнопки або натискання клавіші Enter накажемо програмі виконати пошук.
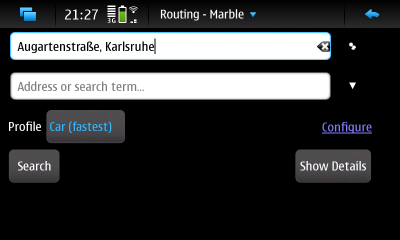
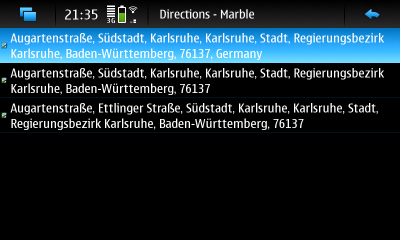
Знайдених результатів може бути декілька. Вибрати відповідний можна за допомогою списку, який буде показано у нижній частині діалогового вікна. Звичайною, ви можете виправити помилки у вказаній вами назві і повторити пошук, якщо бажаного місця не виявиться серед результатів пошуку.
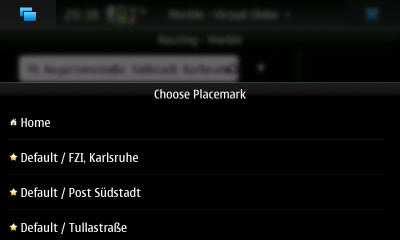
Після визначення пункту початку маршруту перейдемо до визначення пункту призначення за допомогою однієї з встановлених закладок. Список закладок можна відкрити натисканням кнопки зі стрілкою (трикутником) поряд з полем введення пункту призначення. У відповідь на натискання програма відкриє нове діалогове вікно.
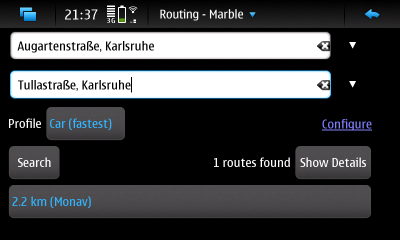
The selected bookmark is used as the route target. You are now ready to calculate the route. Tap on the button to do that. The number of routes found is shown. In case more than one route was found, you can optionally switch to an alternative one at the bottom of the screen. You can also view driving instructions using the button.
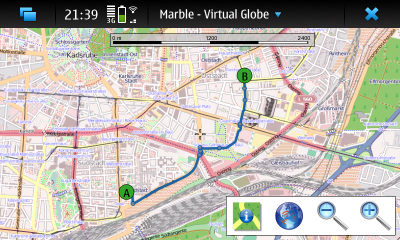
Your route is now ready. Tap on the button to close the window. You'll see an overview of the route.
Користування контекстним меню
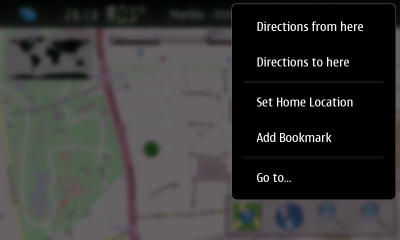
If the start or the destination is visible on the map, you can also use the context menu to set the start or the destination of the route. Click on the map once (without moving it) and a context menu comes up. Select to set the route start and to set the destination. The route is calculated automatically (if both a start and a destination are set).
Додавання проміжних пунктів
Once a route is calculated, you can insert via points (stopover points) with drag and drop. To accomplish that, use the pen of the N900. Click on any point of the route and move the pen to the desired location where a via point should be inserted. While dragging, a small green flag is shown as well as blue lines to the neighboring points on the route.
Вмикання режиму путівника
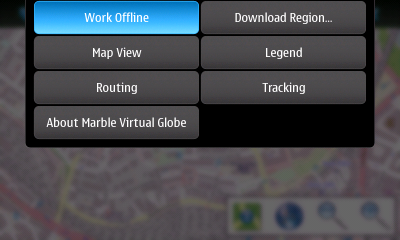
With the route planned you can now switch to guidance mode. Do you have Internet access throughout your journey? If not, switch Marble to offline mode to inform it that you don't want it to download any missing information from the Internet. Otherwise it's likely that your N900 will open popup dialogs asking you to connect to the Internet frequently. Marble's offline mode is activated from the main menu, accessible by tapping on the headline of the main window.
Tap on the icon to activate the mode with the same name. It is the left of the four icons on the bottom of the screen.
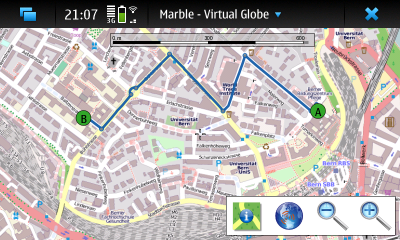
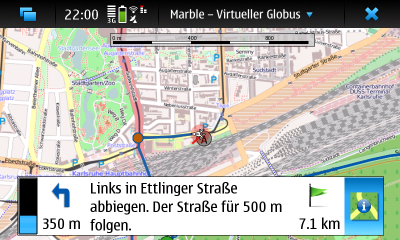
In guidance mode, the GPS and the two zoom icons are hidden. Instead a couple of other elements are shown. Let's look at the items relevant during your journey, one after the other:
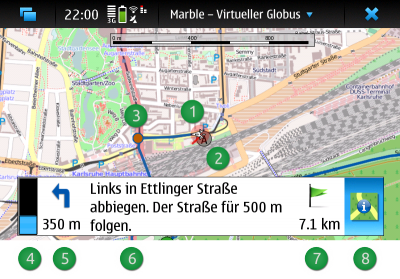
- A white triangle indicates your current location (GPS position) and the direction you're moving. The red circle around the current position indicates the quality of the GPS signal: Your real position will likely be somewhere in this circle. The smaller the circle, the better is the GPS signal.
- The route source and destination position as well as via points are shown in the map using icons with letters. For a route only consisting of source and destination, the source is indicated by the (A) icon and the destination using the (B) icon. A green icon indicates that you haven't visited the target yet, while a gray icon indicates visited targets. In the screenshot above, the route source position (A) has already been marked visited since we're very close to it at the moment.
- Наступний пункт повороту позначено на карті за допомогою помаранчевого кола.
- Once the distance to the next turn point falls below 1 km (1000 m), a progress bar is shown. It indicates the distance to the turn point.
- This icon indicates the turn type of the next turn. When it is gray, the next turn is more than 1 km (1000 m) away. Please note that only offline routers generate turn type icons. The distance to the turn point is shown below the icon.
- Настанови з керування показано посередині.
- Ця мітка позначає відстань до пункту призначення маршруту.
- Вимкнути режим путівника можна повторним натисканням піктограми режиму путівника.
- ← Автономна побудова маршрутів
- Marble/Maemo/GuidanceMode/uk
- Стеження за розташуванням →

