Робота з GMail
Вступ
За допомогою цього підручника ви зможете налаштувати переспрямування пошти за допомогою IMAP з вашого облікового запису Gmail до програми KMail, доступ до якої можна отримати за допомогою оболонки Kontact.
Переспрямовування вхідної пошти (з’єднання IMAP)
Спочатку вам слід відкрити вікно Kontact. Ви можете просто ввести назву цієї програми у поле для пошуку. Після запуску Kontact натисніть пункт на лівій вертикальній панелі навігації. У відповідь буде відкрито модуль KMail Kontact. Для відкриття вікна налаштовування параметрів переспрямовування скористайтеся пунктом меню .
На першому кроці слід створити основний профіль, щоб відокремити різні облікові записи пошти, якщо ви створите такі у майбутньому.
 |
Створення профілю KMail. | 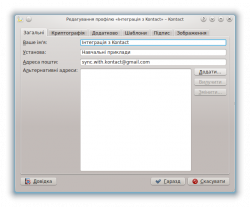 |
Налаштовування нового профілю. |
Далі, перейдіть на вкладку на лівій панелі навігації. Там ви зможете налаштувати облікові записи вхідних і вихідних даних пошти.
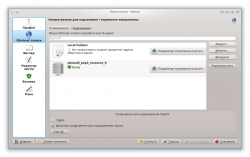
Налаштовування роботи з вхідною поштою
Click on , and then ensure that “IMAP E-Mail Server” is highlighted, and then click . After this, 2 prompts will come up offering integration with the KDE Wallet service. For convenience, select the option entitled .
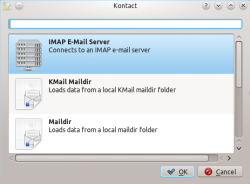 |
Додавання нового облікового запису IMAP. | 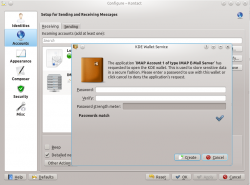 |
Налаштовування торбинки паролів KDE. |
Now it is time to configure the incoming connection. Name your account Name whatever you want. Now, enter as the IMAP server imap.gmail.com. Your Username is your email account, in this case mine is [email protected]. The Password is the password of your Gmail account.
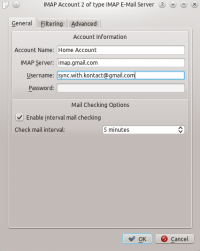
Next, go to the tab, and ensure that it is connected on Port 993 with the radio button left on. As for authentication, according to the KMail documentation, DIGEST-MD5 encryption is recommended, however for now Google’s IMAP server does not support any of this, so cleartext must be selected.
Click . Another KDE Wallet prompt should show up, and for convenience, you can select the option.
To check your emails, find the Inbox of your newly setup account, in this case, Gmail Incoming, and press F5 to refresh and download new emails from the server.
Outgoing Mail Setup (SMTP Connection)
To setup an outgoing connection, similar steps must be taken to add the new connection, which is treated as a new account by KMail. Open up the KMail Configuration window, and go to the area in the left navigation bar. Instead of using the tab, which was used to setup the incoming (IMAP) connection switch to the tab now.
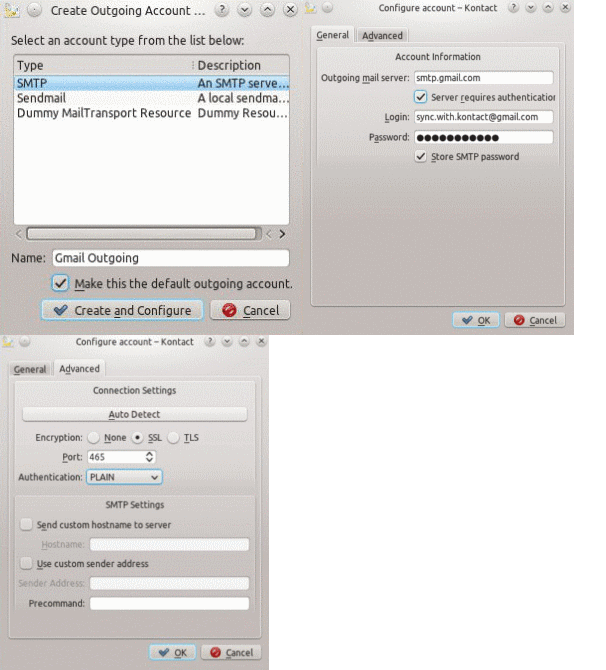
Now, click on Add... and select the option and click . Afterwards, a Configure Account window will appear. The following details are needed by Kontact.
smtp.gmail.com (Check the button)
Your Gmail account. Here. it's "[email protected]"
Your Gmail password.
For convenience, check the option. Now, go to the tab of the window and enter the following information.
When sending your first email from Kontact, you will need to save the information in KDE Wallet once so it won’t have to be used later.
GIF-анімація
Вітаємо, тепер ви зможете надсилати і отримувати поштові повідомлення за допомогою Kontact!
