Plasma/Installing Plasmoids/fr: Difference between revisions
(Created page with "Faites glisser le composant graphique installé sur le bureau ou sur un panneau comme d'habitude.") |
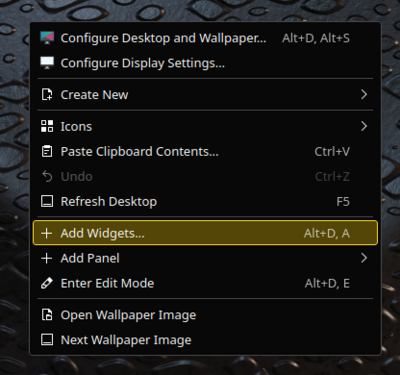
(Created page with "Sélectionnez <menuchoice>Ajouter un composant graphique depuis un fichier local</menuchoice> dans le menu du bureau.") |
||
| Line 35: | Line 35: | ||
=== Installation à partir d'un fichier local === | === Installation à partir d'un fichier local === | ||
Sélectionnez <menuchoice>Ajouter un composant graphique depuis un fichier local</menuchoice> dans le menu du bureau. | |||
[[Image:Plasma_InstallingPlasmoids_AddWidgets.png|thumb|400px|center]] | [[Image:Plasma_InstallingPlasmoids_AddWidgets.png|thumb|400px|center]] | ||
Revision as of 15:16, 9 March 2024
Installer des Widgets Plasma
Vous avez trouvé un nouveau Widget (un composant graphique), mais vous ne savez pas comment l'installer ? Voici comment!

Installation depuis KDE-Look.org
Sélectionnez dans le menu du bureau.

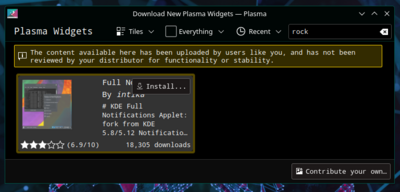
Sélectionnez à partir de Composants graphiques (l'explorateur de composants graphiques).

Recherchez le composant graphique shouhaité puis appuyez sur .

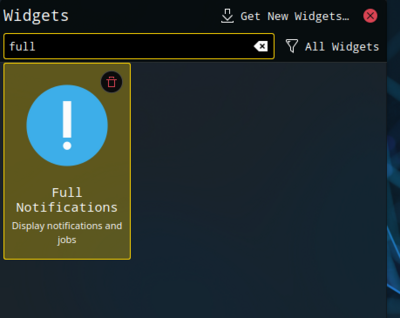
Faites glisser le composant graphique installé sur le bureau ou sur un panneau comme d'habitude.

Installation à partir d'un fichier local
Sélectionnez dans le menu du bureau.

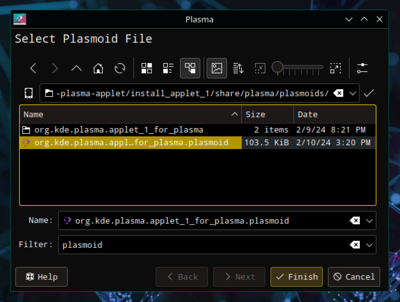
Select from Widget Explorer.

Select a local file and press .

Installing from Konsole
To install a Plasma widget from Konsole type:
kpackagetool5 -i widget-file-name.plasmoid

