Konversation/Configuring SASL authentication
Configuring SASL authentication
This document will guide you through configuring SASL authentication for an IRC network, using the Libera Chat network as an example.
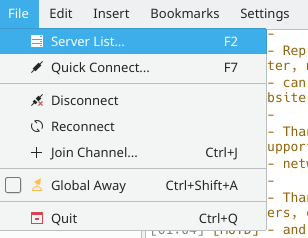
- Let's start by adding the network to the Server List. Open the Server List dialog window by pressing the F2 key or by clicking in the application menu:
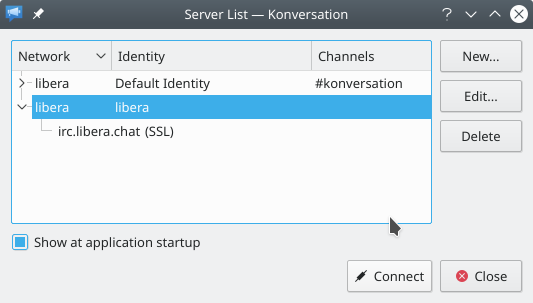
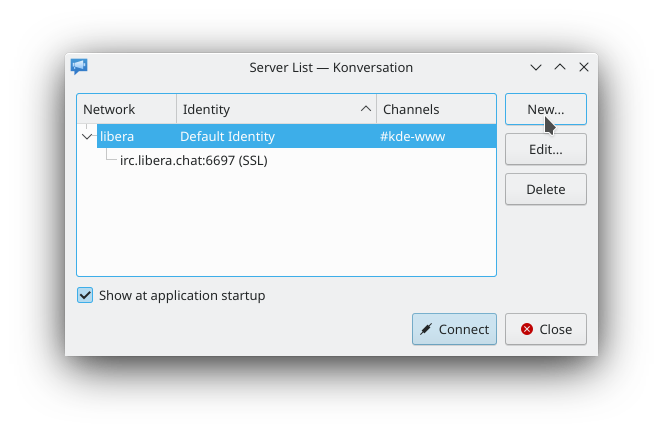
- If you already have an entry for Libera Chat in the Server List, select it now and then click the button to open the dialog window and skip to step 5 (or step 4 if you're interested in learning about SSL secure transport settings for a network's servers, which complement SASL authentication). Alternatively, click the button in the upper-right of the window to open the New Network dialog window:
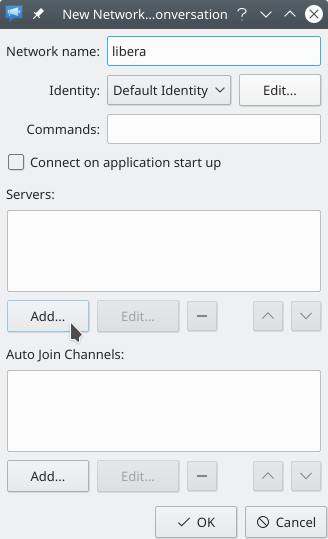
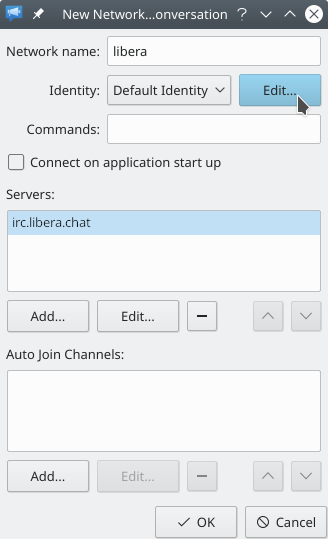
- In the New Network dialog window, give the network a name by filling in the field. Then click the button below the list labeled to open the Add Server dialog window:
- Fill the Add Server dialog window as shown in the next screenshot. As the purpose of this guide is to ultimately configure a secure authentication method, note that we have chosen to enable SSL to also use a secure transport between us and the server, logically complementing secure authentication. Clicking the button will save the server and take you back to the New Network dialog window.

- Back in the New Network dialog window (or Edit Network, if you skipped here from step 2), notice the newly-added server in the list for the network. Now click the button next to the drop-down selection labeled to open the Identities dialog window:
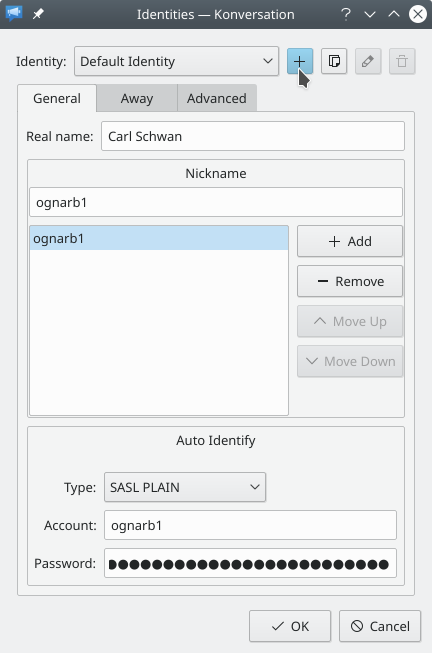
- Welcome to the Identities dialog window. This dialog window allows you to create and manage an unlimited number of Identities. An Identity is a way to store settings related to your person (such as your real name and nicknames) separately from the settings for a network, so you can for example reuse them for multiple different networks. It also makes it easy to switch between different Identity settings for a single network, by selecting the right Identity in the New Network dialog window from the preceding steps or in the similar Edit Network dialog window used to modify an existing network in the Server List. For added convenience, if you open the Identities dialog window from the New/Edit Network dialog window as we have done here (alternatively, you can open it any time by pressing F8), the Identity you are viewing at the time you press the button will be automatically selected for the network.
Because Identities are such an important concept in Konversation, this guide will now take you through adding and filling in an entirely new Identity to use with Libera Chat before turning to adding the authentication settings. If you're already familiar with managing Identities, you can skip to step 9 now.
Note that adding a new Identity is not strictly necessary. As long as you are only using a single IRC network, just filling in the Default Identity is of course enough. But even when using multiple IRC networks, using just the Default Identity for all of them can be enough, if there is no need for any of the Identity settings to differ from network to network. However because, as we will see later, the authentication settings are part of the Identity, it is usually good practice to use separate Identities for different networks, so you can use different passwords on each network for better security. Given this, click the button next to the drop-down selection labeled to open the Add Identity dialog window:
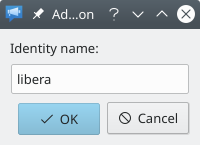
- In the Add Identity dialog window, enter a name for the new Identity and click the button to get back to the Identities dialog window. Note that the name "libera" in the following screenshot is just a useful memory aid for the connection to the network; there is no need for the network and Identity name to be the same:
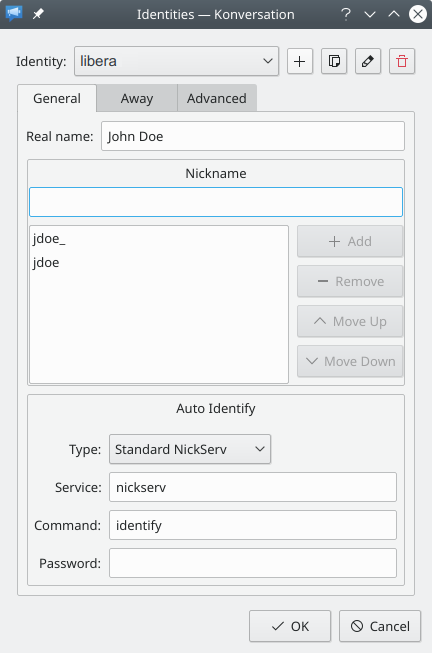
- Back in the Identities dialog window, fill in the basic settings for the newly-added Identity, which has been automatically selected in the dialog (notice the drop-down selection labeled at the top of the dialog window). Entering a and adding at least one are required:
- Now it's time to get to our final objective: Adding SASL authentication settings to the new Identity for use with the Libera Chat network.
(A short interlude: For the sake of brevity, and because the best and most up-to-date documentation for the account creation process is available on Libera Chat's own website, this guide assumes that you already have a Libera Chat account. If you don't have an account yet, however, click now in the Identities dialog window and then in the New/Edit Network dialog window. You can then connect to Libera Chat unauthenticated by selecting it in the Server List dialog window and clicking the button at the bottom of the dialog window. Once you are connected to Libera Chat you can follow their instructions to create an account. Once you're done, open the Server List dialog window again (see step 1), select Libera Chat and click the button to open the Edit Network dialog window and the button again to open the Identities dialog. Note that you will need to reconnect after adding the authentication settings to connect authenticated.)
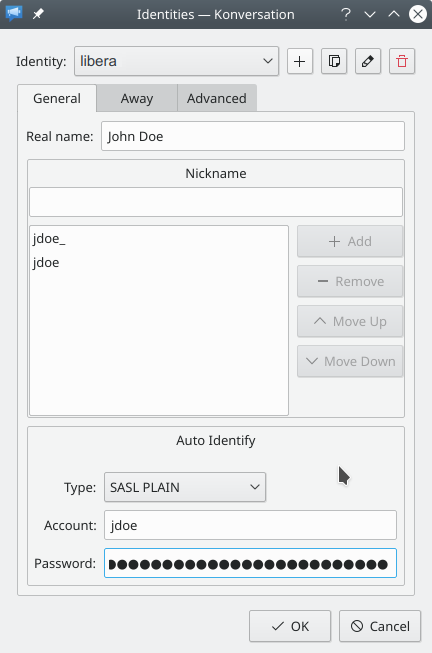
To add SASL authentication settings to the Identity, focus on the group of settings labeled Auto-Identify still on the tab of the Identities dialog window. The first step is to select in the drop-down selection labeled . Then all that's left to do is to enter your Libera Chat account's name and password in the and fields below the drop-down selection and clicking the button to save the new Identity settings:
- Now click the button in the New/Edit Network dialog window to save the network and get back to the Server List dialog window.
- In the Server List dialog window you can now select Libera Chat in the list and press the button at the bottom of the dialog window (or double-click the entry) to connect to Libera Chat with SASL authentication: