Plasma/Installing Plasmoids/zh-tw: Difference between revisions
Appearance
m Created page with "選擇元件安裝類型。" |
Updating to match new version of source page |
||
| (9 intermediate revisions by one other user not shown) | |||
| Line 1: | Line 1: | ||
<languages /> | <languages /> | ||
<span id="Installing_Plasma_Widgets"></span> | |||
== 安裝 Plasmoid 元件 == | == 安裝 Plasmoid 元件 == | ||
<div align="center">'''找到一個新的元件,但不知道怎樣安裝? | <div align="center">'''找到一個新的元件,但不知道怎樣安裝?不要怕!看這裡 '''</div> | ||
[[Image:Plasma_InstallingPlasmoids_DownloadNew.png|thumb|265px|center]] | [[Image:Plasma_InstallingPlasmoids_DownloadNew.png|thumb|265px|center]] | ||
{{Info/zh-tw|這些圖片都是「可點入的」,按下後會顯示完整大小的圖片。你需要瀏覽器的往回按鈕來返回}} | {{Info/zh-tw|這些圖片都是「可點入的」,按下後會顯示完整大小的圖片。你需要瀏覽器的往回按鈕來返回}} | ||
<span id="Installing_from_KDE-Look.org"></span> | |||
=== 從KDE-Look.org安裝 === | === 從KDE-Look.org安裝 === | ||
| Line 30: | Line 32: | ||
<span id="Installing_from_local_file"></span> | |||
=== 從本地檔案安裝元件 === | === 從本地檔案安裝元件 === | ||
| Line 41: | Line 44: | ||
[[Image:Plasma_InstallingPlasmoids_Localfile.png|thumb|550px|center]] | [[Image:Plasma_InstallingPlasmoids_Localfile.png|thumb|550px|center]] | ||
選擇本地檔案並按下完成。 | |||
選擇 | |||
[[Image:Plasma_InstallingPlasmoids_Finish.png|thumb|400px|center]] | [[Image:Plasma_InstallingPlasmoids_Finish.png|thumb|400px|center]] | ||
= | <span id="Installing_from_Konsole"></span> | ||
=== 從Konsole安裝 === | |||
== | |||
{{ | <div class="mw-translate-fuzzy"> | ||
要從 Konsole 安裝 Plasma 元件,輸入: | |||
{{Input|1=plasmapkg -u 元件-檔案名.plasmoid}} | |||
</div> | |||
[[Category: | [[Category:高階用戶/zh-tw]] | ||
Latest revision as of 11:51, 8 March 2024
安裝 Plasmoid 元件
找到一個新的元件,但不知道怎樣安裝?不要怕!看這裡

從KDE-Look.org安裝
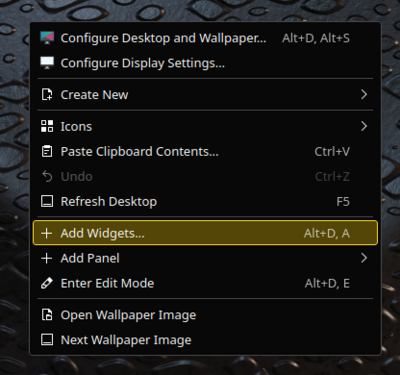
從桌面選單中選擇「新增元件...」。

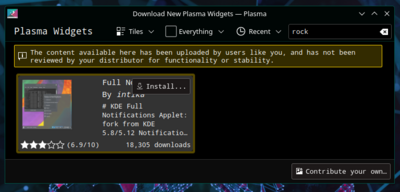
從元件瀏覽器(Widget Explorer)從選擇「安裝新的元件」 -> 「下載新的 Plasma 元件」。

搜尋元件並按下安裝。

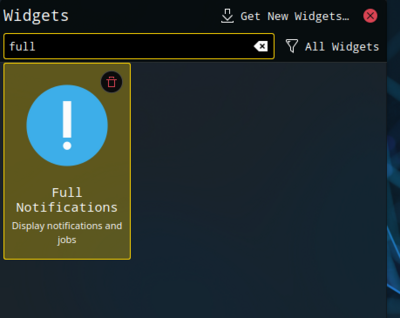
像往常一樣拖動安裝好的元件到桌面或面板上。

從本地檔案安裝元件
從桌面選單中選擇「新增元件...」。

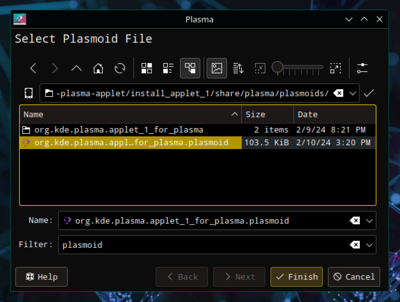
從元件瀏覽器(Widget Explorer)從選擇「安裝新的元件」 -> 「從本地端檔案安裝元件...」。

選擇本地檔案並按下完成。

從Konsole安裝
要從 Konsole 安裝 Plasma 元件,輸入:
plasmapkg -u 元件-檔案名.plasmoid

