Kdenlive/Manual/Clip Menu/Transcode: Difference between revisions
mNo edit summary |
m Ognarb moved page Kdenlive/Manual/Edit Menu/Transcode to Kdenlive/Manual/Clip Menu/Transcode: This time to the right menu |
||
| (2 intermediate revisions by 2 users not shown) | |||
| Line 17: | Line 17: | ||
[[File:Proxy_clip_creation.png]] | [[File:Proxy_clip_creation.png]] | ||
{{Prevnext2 | |||
| prevpage=Special:MyLanguage/Kdenlive/Manual/Project_Menu | |||
| prevtext=Project Menu | |||
| index=Special:MyLanguage/Kdenlive/Manual | indextext=Back to menu | |||
}} | |||
[[Category:Kdenlive]] | |||
Latest revision as of 11:25, 2 May 2019
Transcode Menu Item
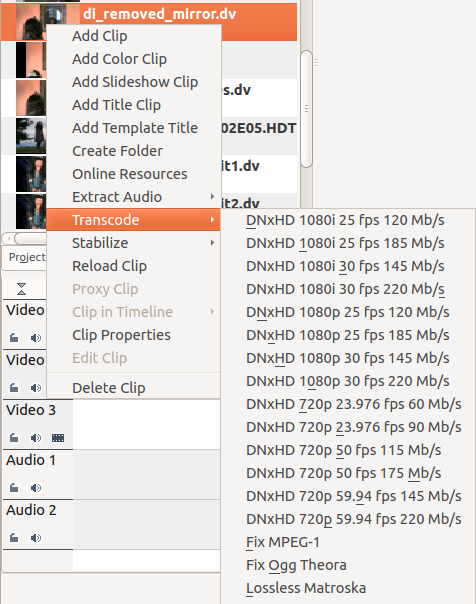
From right-click on a clip in the Project Tree, one of the items that appears in the menu is the submenu.
Choose a transcode profile from the available list to transcode the selected clip into a different video format. The options are controlled by Configure Kdenlive->Transcode. The transcoding is done by the ffmpeg program.
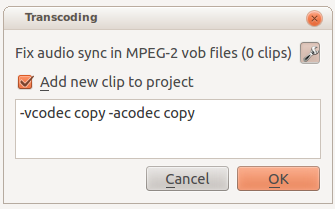
The above screenshot is the dialog presented after choosing a transcode profile for transcoding the clip. The wrench icon toggles the display of the details of the command that will be used for transcoding. The description comes from the description supplied in the settings for this functionality.
Use the checkbox to cause the transcoded clip to be added to the Project Tree once the transcode job has finished.
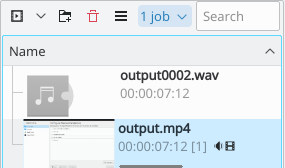
While the transcode job is running, the Project Tree will display a progress bar on the thumbnail of the clip and a job list menu item will appear at the top of the Project Tree.


