Digikam/Windows
Встановлення digiKam у Windows
Запозичено з запису блогу Дмітрія Попова (Dmitri Popov), 21 листопада 2010 року
Якщо ви хочете встановити digiKam у Windows, ви можете піти двома шляхами: зібрати програму з початкових кодів або скористатися програмою для встановлення KDE у Windows. Останній варіант набагато простіший, але має недолік: за його допомогою, зазвичай, можна встановити лише застарілу версію digiKam. Якщо цієї версії для вас досить, і ви не бажаєте витрачати час на збирання digiKam з кодів, вам варто скористатися програмою для встановлення KDE.
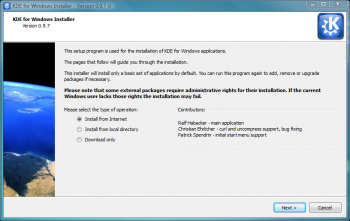
First off, create a new KDE directory on your hard disk, grab then the KDE installer from the KDE on Windows project’s Web site, and move it into the created directory. Launch the installer, select the option, and press .

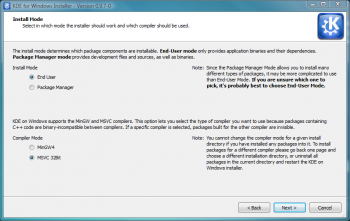
In the field, enter the path to the KDE directory, and press . Select the option in the section, and from the Menuchoice>Compiler Mode</menuchoice> section.

Keep the settings in the next several screens at their defaults. When you reach the screen, choose the www.winkde.org server, since it offers the newest as well as older versions of the KDE bundle. Press and find the version of KDE that contains the digiKam and kipi-plugins packages. Select then both packages, and press . Hit the button once again, and the installer does the rest. Wait till the installer has finished downloading and installing the software, press the button, and you are done. Now you can launch and use digiKam as any other Windows application.
A tutorial for compiling digiKam from source is available at http://www.digikam.org/drupal/node/525
