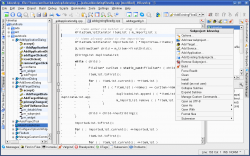
KDevelop
 |
Et integreret udviklingsmiljø (IDE) for MS Windows, Mac OsX, Linux, Solaris and FreeBSD |
Creating projects
To start developing with KDevelop, you need to first create a project. To do this, simply go to menu and click on .
Now a dialog appears asking you what kind of project do you want to create. According to what app you want to develop (e.g. Qt GUI application, pyQt4, KDE application, etc.) select the appropriate option. For example, if you want to create a pyQt4 app, you would unfold and select .
Next, you have to enter the application's name in the field. Afterwards, you have to also set a location for the app where the sources will be stored.
Now you can click .
The next page asks you what kind of do you want to use. Choose the one you like (and I just remembered I wanted to start learning Git).
Browsing through created template files
To browse what files have been automatically created when you created a template project, click on tab on the left-most side.
Now you will see a list of project files.
