Kopete/Jabber/Useful configuration hints/da: Difference between revisions
Importing a new version from external source |
Importing a new version from external source |
||
| Line 6: | Line 6: | ||
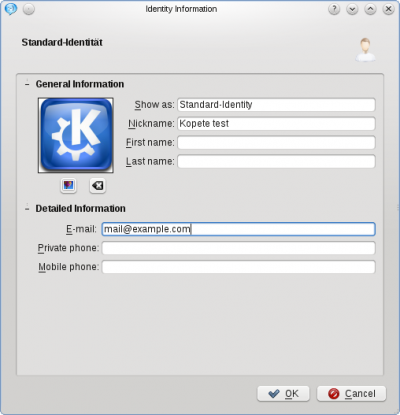
[[File:Kopetetutorial_snap014_setidentity.png|thumb|center|400px| | [[File:Kopetetutorial_snap014_setidentity.png|thumb|center|400px|Indstil identitet]] | ||
Revision as of 20:44, 17 December 2010
Disse tips har alle at gøre med Kopetes hovedkonfigurationsvindue, som findes under . Husk at klikke på knappen eller , hvis du vil gemme dine ændringer.
Alle tilpasninger, som har betydning for opsætningen af din konto og konfiguration af flere konti i 'Kopete (Jabber/XMPP såvel som ICQ, MSN og mange andre messaging-protokoller) findes i gruppen . Hvis du vil angive personlig information eller ønsker at bruge et kontaktfoto, så klik på for at tilføje informationen. Et foto kan uploades ved at klikke på det lille ikon forneden til venstre i billedområdet.
The next tab in the vertical list at the left hand side is . These settings are mainly self-explanatory and it seems useful to enable . The other three horizontal tabs (, and ) include quite special settings you will perhaps fine-tune when you have used Kopete for a few weeks.
The configurations enable you to set your default status messages when you're set as Online, Away, Invisible etc.
Clicking on opens a quite detailed set of configuration. The most interesting ones, that can be found in the tab are and . The first one decides if incoming messages from your contacts open instantly a new window or if they are queued until you open Kopete yourself. The second one tells Kopete if it shall go online when you start the program. When you set this, you are always available for your contacts once you run Kopete. The tab lets you set in what cases Kopete notifies you via your computer's notification system (in most cases KNotify). When you want Kopete to set your status automatically to "Away", open the tab and enable the first checkbox. You can set the time that has to pass after your last action (keyboard input or mouse movement) that Kopete will set you as "away". The default value is 10 minutes. Options located in are again self-explanatory and already set to useful values.
The next item in the vertical row on the left is . The first tab in there, , can be used to set another appearance than the default one. You can also install your own styles or download new ones from the Internet by clicking on . When you type in an Emoticon during a conversation, Kopete will convert it into a graphical emoticon by default. To disable this feature or to use another set of emoticons go to . The last tab, is again self-explanatory and configures these preferences of your chat window.
Webcams are supported in Kopete, but at the moment (November 2010) there are still some difficulties concerning video chat, so settings in are made at your own responsibility, because it's quite possible it doesn't work in the right way. The KDE Forums may be helpful while dealing with webcam issues.
Plugins
A very powerful feature of Kopete is the capability of using plugins. There is a set of plugins pre-installed (new ones can be installed for example with your Linux distro's package manager) and they can be enabled and configured under . You can enable them by setting the tick into the respective checkbox. Most of them are again self-explanatory, but the most useful ones will be explained here anyway. A very helpful plugin is the . With this option enabled, Kopete will log all your chats and write it onto your hard disk. You can read it in your chat window, when you select the icon or you open it with .
OTR
One of the most important plugins considering privacy issues is OTR. This piece of software encrypts your entire conversation from one end to the other and makes it impossible for third persons to read your conversation. After you enabled the plugin, you have to open its settings (click on the wrench icon) and a key.
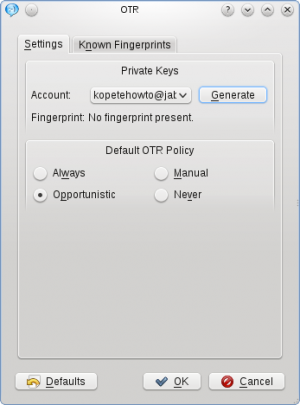
This may take a while and you have to wait until Kopete finished. After that close the OTR window with and the changes. You eventually will have to restart Kopete after this. Then open a chat window of the contact you want to safely communicate with. Go to or use the icon . Kopete will start the session if your contact is capable of OTR, otherwise you'll recieve an error message.
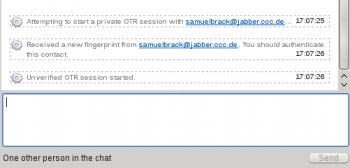
To ensure your added contact is really the one he or she is pretending, it's necessary to authenticate him or her one time. You can do this by calling . You may choose between three options:
- The first one is to ask your chat partner a question whose answer can only be known by him or her and you.
- The next possibility is a secret passphrase your partner has to know (you may consider giving the secret to him or her via another secure communication channel, e.g. telephone).
- Thirdly, there's the option of manually checking the OTR fingerprint. This is the most secure option, but it's not very handy and if you can choose one of the others it may be more comfortable and faster. When checking the fingerprint, you have to ask your partner for his or her OTR fingerprint over a secure connection (e.g. telephone or encrypted E-Mail) so that the fingerprint can be checked.
Let's assume we choose option one and ask our partner a question. Type it into the field and define the expected answer your partner has to give, so that he or she can be authenticated.
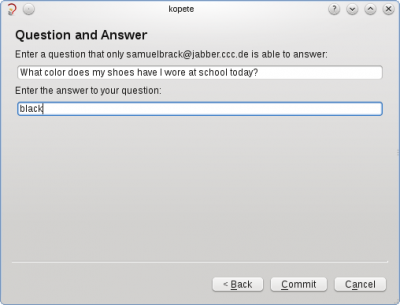
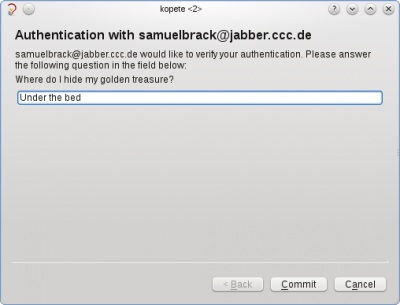
When we continue, your partner will see the question and if the answer is correct, OTR is set up ready now.
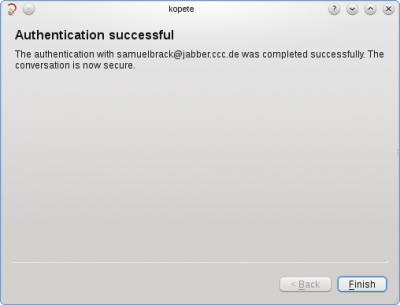
Your partner may do the same thing in return, so when you see a window asking you for authentification just answer the question and you are an authentificated user in your friend's contact list, too.
Every time you communicate safely, you'll see the green armored keylock icon at the top of your chat window. To finish the secure connection, you can either close your chat window or click on .
- ← Return to index
- Kopete/Jabber/Useful configuration hints/da
- Page 8 - More info on Kopete →
