Digikam/Adding Borders To Your Photos/it: Difference between revisions
Importing a new version from external source |
Importing a new version from external source |
||
| Line 11: | Line 11: | ||
Seleziona la foto a cui vuoi applicare un bordo e premi <keycap>F4</keycap> sulla tastiera. In questo modo passerai alla vista dell'editor. Da qui seleziona <menuchoice>Decora -> Aggiungi bordo</menuchoice>. | Seleziona la foto a cui vuoi applicare un bordo e premi <keycap>F4</keycap> sulla tastiera. In questo modo passerai alla vista dell'editor. Da qui seleziona <menuchoice>Decora -> Aggiungi bordo</menuchoice>. | ||
Ti verranno presentate molte opzioni. | |||
One option is the <menuchoice>Solid Color</menuchoice>. This option gives you many colors that you can choose from. | One option is the <menuchoice>Solid Color</menuchoice>. This option gives you many colors that you can choose from. | ||
Revision as of 09:13, 23 April 2011
Aggiungere bordi alle tue foto
Trascritto dal blog di Mohamed Malik, 7 marzo 2011
Molte persone aggiungono bordi alle proprie foto perché l'immagine appare meglio evidenziata ed incorniciata. digiKam rende ciò molto facile e semplice!
Ci sono due modi per applicare bordi alle immagini in digiKam.
- Metodo 1
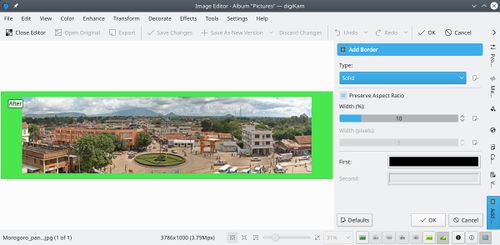
Seleziona la foto a cui vuoi applicare un bordo e premi F4 sulla tastiera. In questo modo passerai alla vista dell'editor. Da qui seleziona .
Ti verranno presentate molte opzioni.
One option is the . This option gives you many colors that you can choose from.
The color options are
- Forty Colors
- Oxygen Colors
- Rainbow Colors
- Royal Colors
- Web Colors
- Named Colors
You can change the hue, saturation and value of any color and add it to your list of custom colors. See screen capture below. (These images can be clicked for larger views)

When you are done press .
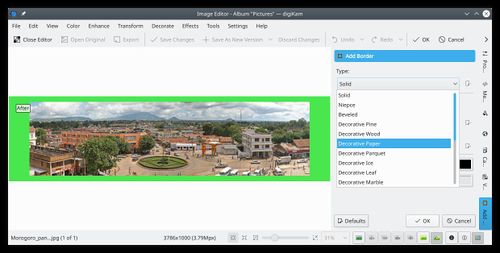
If you prefer predefined textures to apply as borders you can select from the available options menu, which gives many choices.

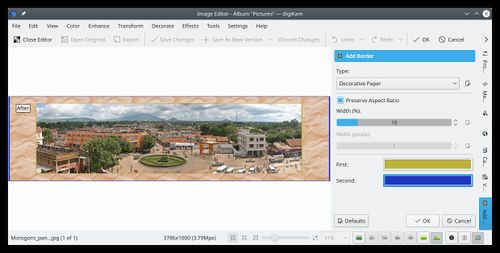
If you choose this option then you can choose the first color and second color. First color is the color that you will see in the inner area, where as second color is the color you will see on the outer area. See screen capture:

When you are done press .
- Method 2
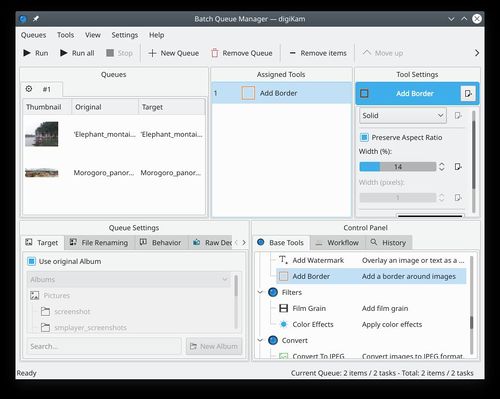
Method 1 is very useful when to test the feature and try to get a border that really suits your needs. However if you have many images that you want to apply borders to, then the batch queue manager would be the best option. Select all the images that you want to apply borders and click Ctrl + B on the keyboard and the Batch Queue Manager appears.
Drag and Drop the tool to the list of assigned tools and set your preferences select a target folder then click (Ctrl + P).
See screen capture below:

