Digikam/Windows
Installare digiKam su Windows
Riprodotto dal blog di Dmitri Popov, 21/11/2010
Se vuoi installare digiKam su Windows, hai due possibilità: puoi compilare l'applicazione dal codice sorgente o utilizzare il KDE Windows installer. L'ultimo approccio è decisamente il più facile, ma ha uno svantaggio: il programma di installazione di solito include una vecchia versione di digiKam. Se ti va bene comunque e non vuoi "sporcarti le mani" compilando digiKam dal sorgente, allora il programma di installazione di KDE fa per te.
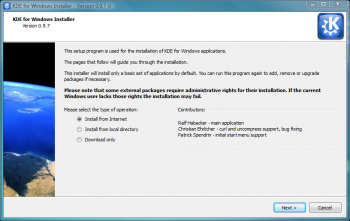
Prima di tutto crea una nuova cartella KDE nel tuo disco, prendi quindi il programma di installazione di KDE dal sito web del progetto KDE on Windows e spostalo nella cartella creata. Avvia il programma, seleziona l'opzione e premi .

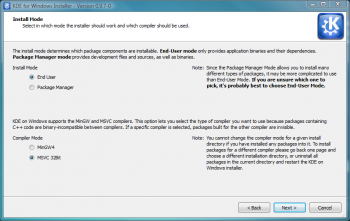
In the field, enter the path to the KDE directory, and press . Select the option in the section, and from the section.

Keep the settings in the next several screens at their defaults. When you reach the screen, choose the www.winkde.org server, since it offers the newest as well as older versions of the KDE bundle. Press and find the version of KDE that contains the digiKam and kipi-plugins packages. Select then both packages, and press . Hit the button once again, and the installer does the rest. Wait till the installer has finished downloading and installing the software, press the button, and you are done. Now you can launch and use digiKam as any other Windows application.
