Digikam/Tethered Shooting
Tethered Shooting with digiKam
Transcribed from Dmitri Popov's blog, 12 March 2012
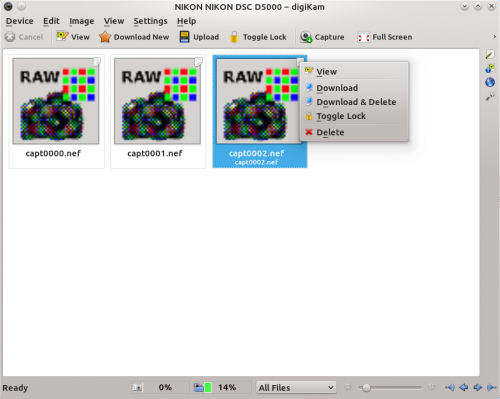
While digiKam won’t rival dedicated software for tethered shooting, you can use the application’s interface to trigger the connected camera and instantly fetch photos from it. This functionality can come in handy when you want to have an instant preview of photos you take on a large screen.

To make use of this feature, connect your camera to the machine running digiKam, and turn the camera on. In digiKam, choose and select your camera model. You can then trigger the camera using the button. There are a couple of things you need to keep in mind, though. digiKam can’t control camera settings (shooting mode, aperture, shutter speed, etc.) remotely, so you should set them beforehand. The images captured from within the Import interface are not stored on the camera’s storage card, so make sure you import them into digiKam before you disconnect or turn off the camera.
