Digikam/Afegir vores a les vostres fotografies
Afegir vores a les vostres fotos
Transcrit des de l'article d'en Mohamed Malik, el 7 de març de 2011
Moltes persones afegeixen vores a les imatges, doncs fan que la imatge es vegi millor i que destaqui. digiKam ho fa molt fàcil i senzill!
Hi ha dos maneres per aplicar vores a les imatges en digiKam.
- Mètode 1
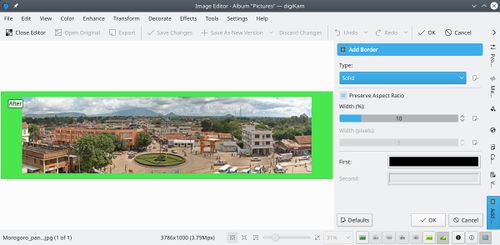
Seleccioneu la foto a la que voleu aplicar una vora i premeu F4 al teclat. D'aquesta manera retornareu a la vista de l'editor. Des d'allà, seleccioneu .
S'us presentaran amb moltes opcions.
Una opció és el . Aquesta opció us dóna molts colors entre els que podeu triar.
Les opcions de color són:
- Quaranta colors
- Colors Oxygen
- Colors de l'arc de San Martí
- Colors royal
- Colors web
- Colors amb nom
Podeu canviar el to, la saturació i el valor de qualsevol color i afegir-lo a la llista de colors personalitzats. Veure la següent captura de pantalla. (Podeu fer clic en aquestes imatges per fer-les grans).

Una vegada hagueu acabat premeu .
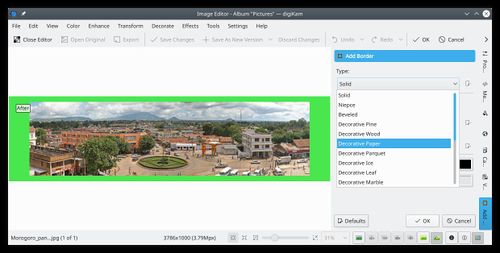
Si preferiu aplicar textures predefinides a les vores podeu seleccionar-les des del menú d'opcions disponible, el qual ofereix moltes opcions.

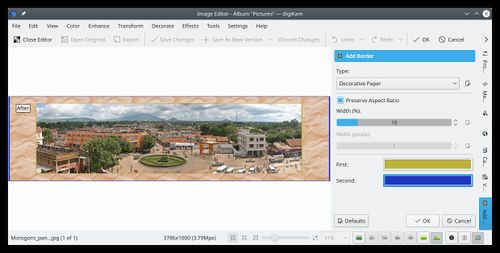
If you choose this option then you can choose the first color and second color. First color is the color that you will see in the inner area, where as second color is the color you will see on the outer area. See screen capture:

When you are done press .
- Mètode 2
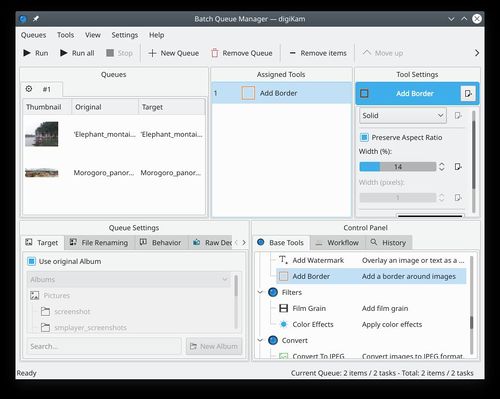
Method 1 is very useful when to test the feature and try to get a border that really suits your needs. However if you have many images that you want to apply borders to, then the batch queue manager would be the best option. Select all the images that you want to apply borders and click Ctrl + B on the keyboard and the Batch Queue Manager appears.
Drag and Drop the tool to the list of assigned tools and set your preferences select a target folder then click (Ctrl + P).
See screen capture below:

