Digikam/Panorama
How to create panoramas in digiKam 2.1
Transcribed from Mohammed Malik's blog, 11 September, 2011.
digiKam 2.1 has been released a few days ago with many new features and improvements. One of the most exciting tools in this release is the tool. Which is simple and quite effective.
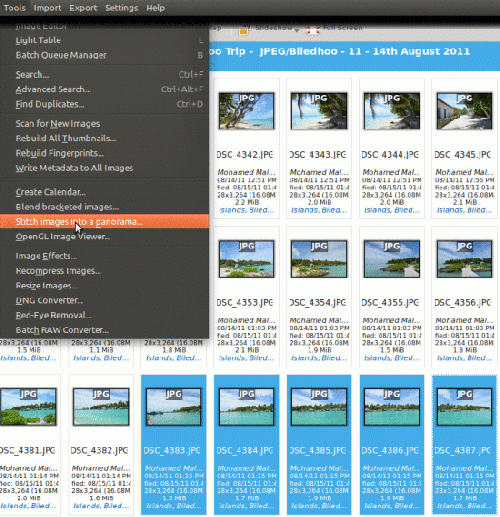
Select the images that you want to stitch and go to and the wizard open up.
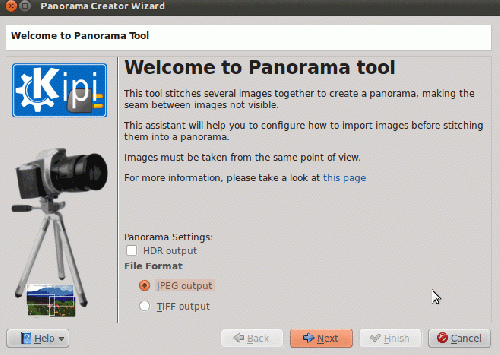
Select any output format that you prefer and click . And this window appears:
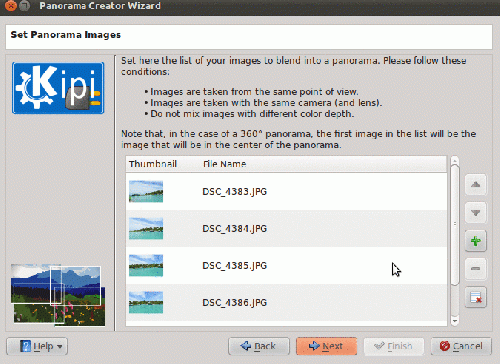
Arrange the images in correct order if they are not, use the up and down arrows, click the to remove any images and click .
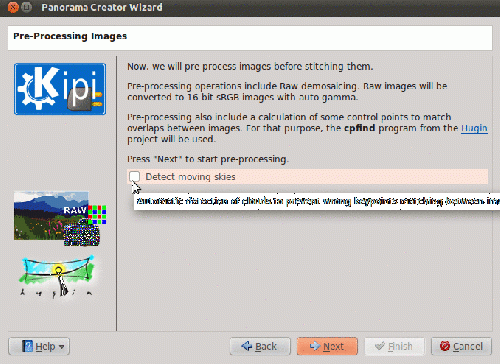
If you want the tool then click the option and press to proceed.
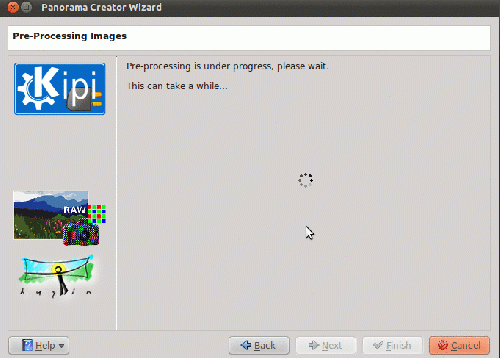
Post processing begins and when it is done click .
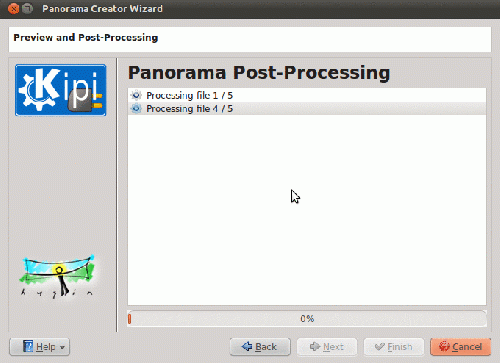
In this window the images are being processed! When done click .
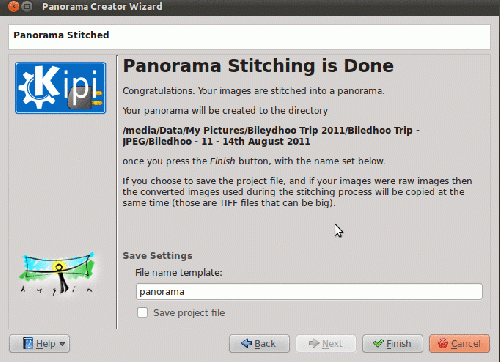
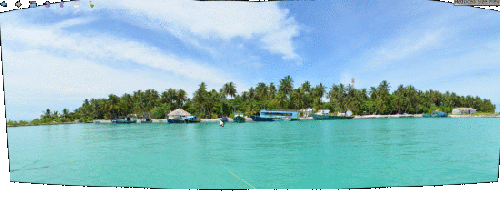
Panorama stitching is now done. If you want you can now save your project. The same project files can be used in hugin, if I'm not mistaken, since this tool uses hugin! Click and you will see the output in the same folder as your original pictures. Here is what I got!
